|
|||||||||||||||||||||||


 |
||||
|
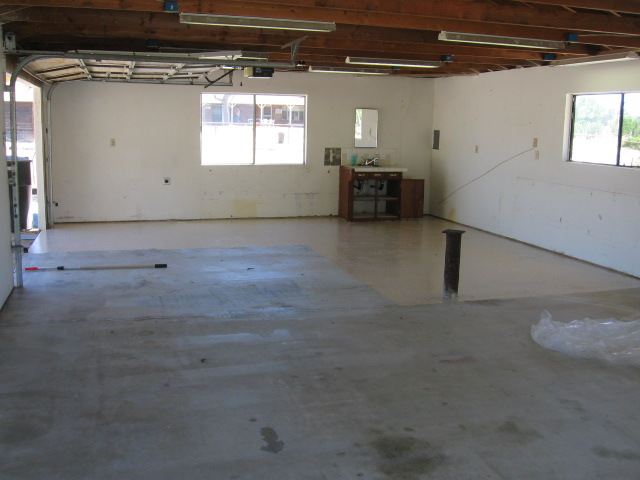
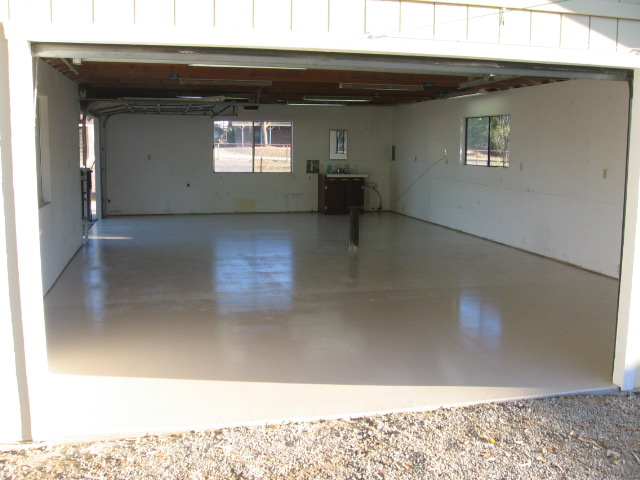
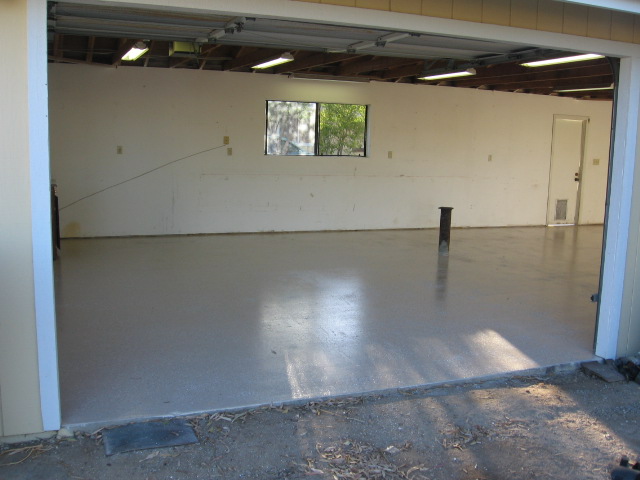
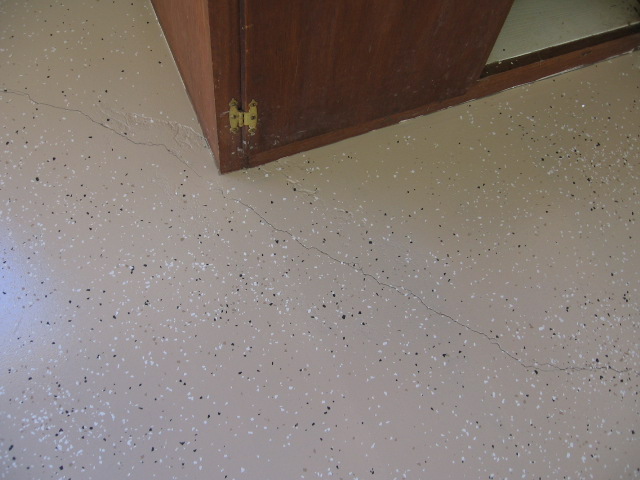
Now that I had everything cleaned out of the building, it was time to prep and paint the floor. This was a long and sweaty process: - Sweep off all big junk I got to know every square inch of that floor, all 79,200 of them. I kept thinking "wax on, wax off" as I did the hand sanding. I really wanted to get the floor to pristine condition to make sure the epoxy stuck well and lasted for years. The last thing I want to do is pull a bunch of tools out and re-do some or all of the floor. I did encounter a couple of issues. The first is cracks in the floor. When they say fill cracks with paintable caulk, they mean it. I tried to force paint into some cracks but they telegraphed through after the paint dried. The second problem was I bought two gallon kits from one factory batch and one gallon from another factory batch. The third one is a significantly different shade of beige, but luckily the boundary is going to be right where a dividing wall will go. Make sure you buy enough kits for the whole project and all from the same batch. I chose the beige color, rather than standard garage grey because beige, with the brown flakes sprinkled on, is going to hide the sawdust really well. It also reflects light well and significantly brightened up the shop. |
||||
 |
 |
|||
 |
 |
|||