|
|||||||||||||||||||||||


 |
||||||
|
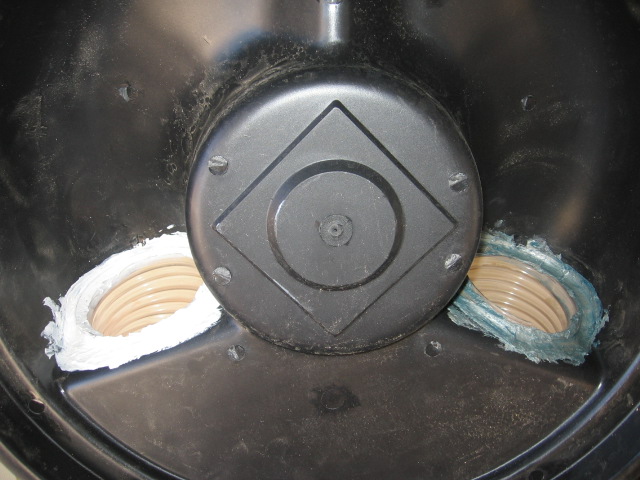
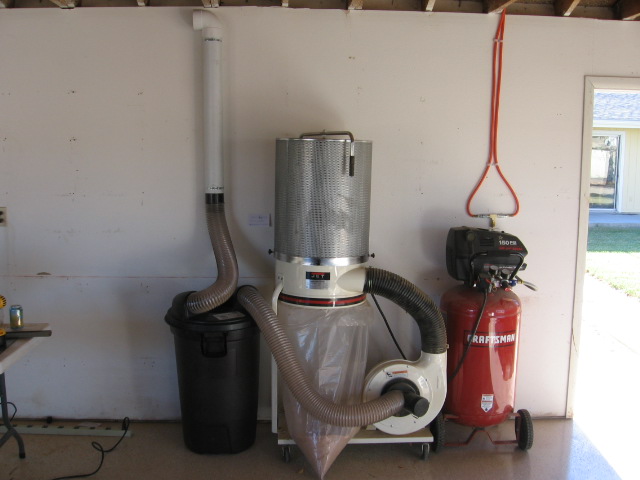
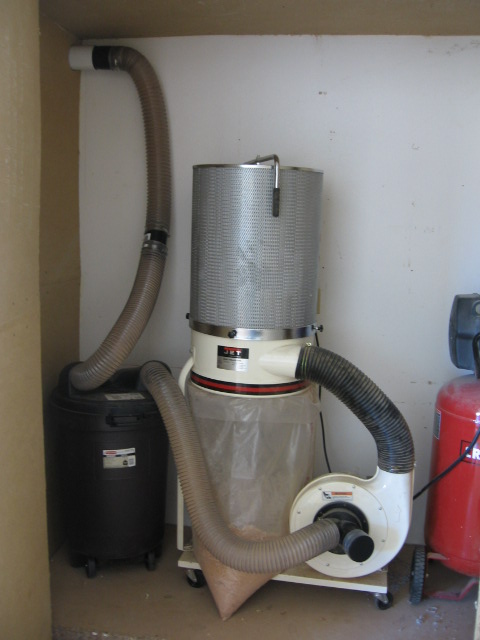
My old shop had a nice dust collection system using very heavy 4" PVC pipe for the main trunk to the collector, with flexible hoses and gates to each tool. The only drawback was it was just laid on the floor and in the case of the table saw, I had to step over the pipe all the time, and when I wanted to use it for a hand-held tool like a palm sander or belt sander, the hose was heavy and the reducers kept popping out. So this time I'm going to use a much lighter weight polystyrene 4" pipe and run it along the top of the walls with drop downs to each tool as needed. I'm using 4" bolt-tightened metal clamps to hold the pipes up. I'm also adding a chip-separator lid on a 20" garbage can as a first stage before the main dust collector. This will cut down on how often I need to wrestle with the plastic bag mounted under the filter unit. I've built a small sound-deadening rooom around the chip separator, dust collector and air compressor to cut down on the enormous amount of noise that they make while in operation. The dust collector is controlled with a remote control switch clipped to my tool belt. I rewired the dust collector motor for 220V so I bought a 220V remote control, and moved my 110V dust collector remote control to the air compressor. The plastic dust separator lid is a great idea, but it's very poorly engineered with too much slop in the hose holes, so I decided to adhere them in place. The hose on the left uses flexible silicon caulk, the one on the right is construction adhesive. I'll see how they hold up and if one gives out I'll re-do the failing side with the better material. |
||||||
 |
 |
|||||
|
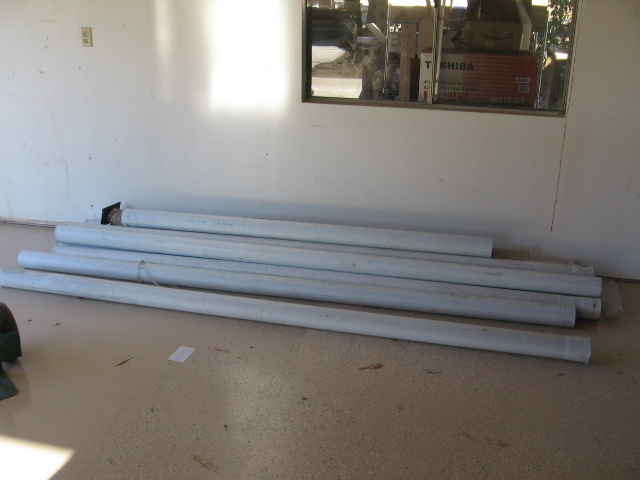
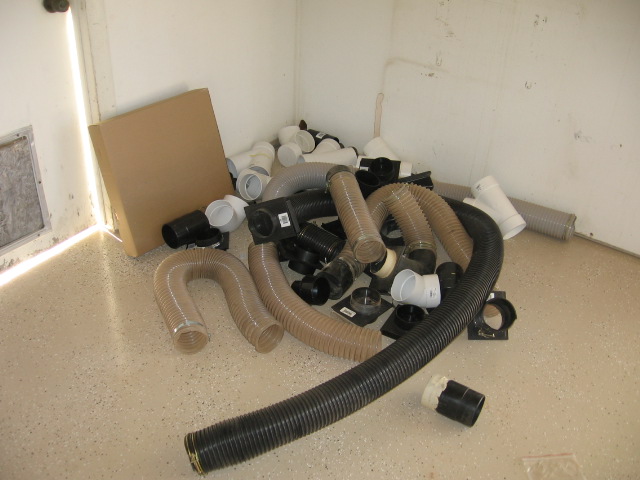
Here are the pipes, Ys, Ts, elbows, flexible hoses and blast gates that I needed (plus more) to get everthing working. |
||||||
 |
 |
|||||
|
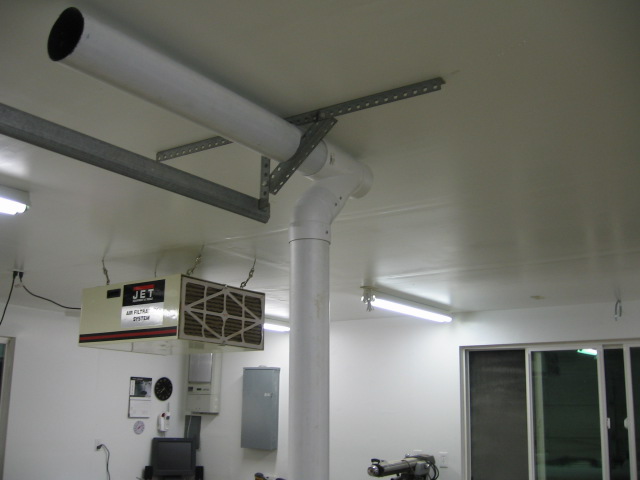
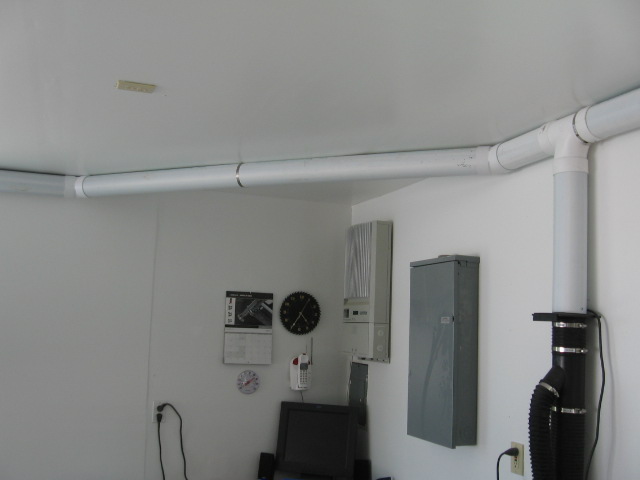
Now I'm nearing completion of the shop setup and have the major tools in position, so I can start running the piping. I started with the table saw and jointer, bringing their pipes together, each with its own blast gate, then straight up to the ceiling. Note the angle of the fitting at the ceiling - it helps cut down on air resistance by helping the dust take a more gentle path to its destination. The great thing about this piping is its light weight - it looks like I'll be able to support it with a small number of strategically-placed support clamps. |
||||||
 |
 |
|||||
|
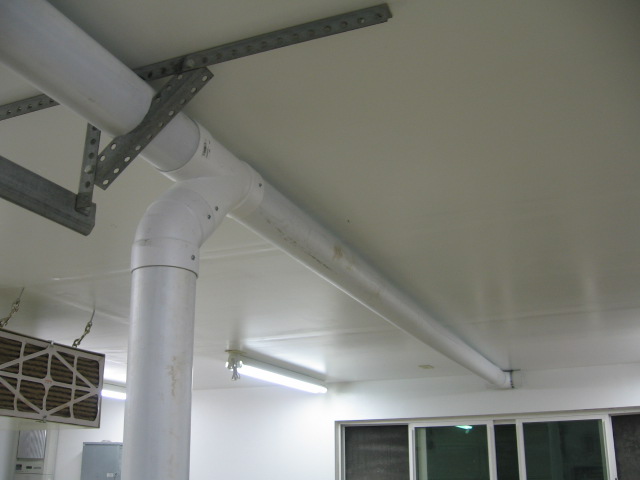
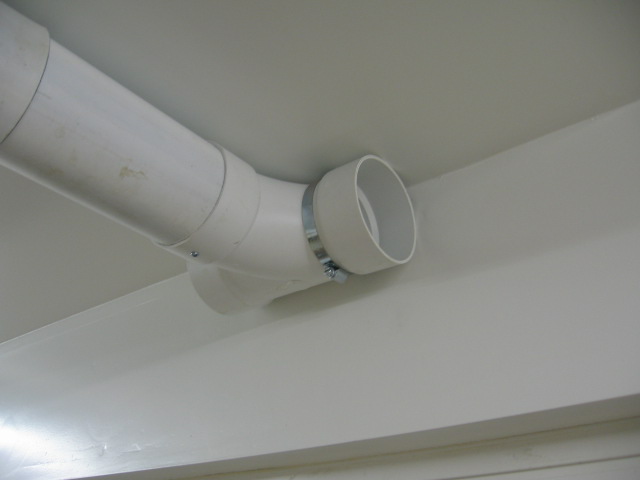
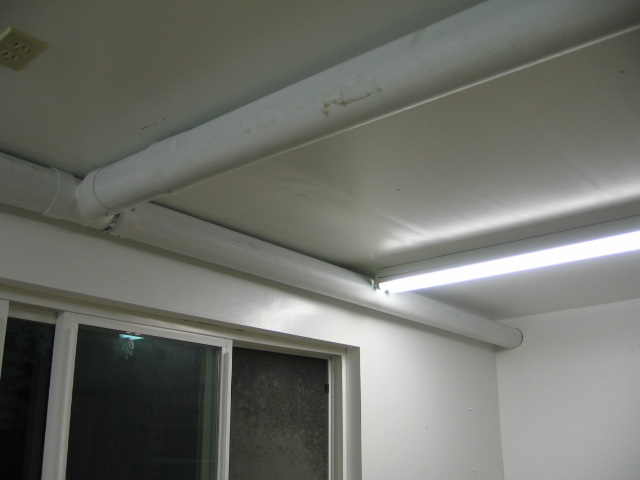
From there, I ran it to the west wall, then across into the dust collector room. The pipe *just* sneaks behind the light fixture. It has to angle down and away from the wall to clear the 2x4 framing in the corner of the dust collector room. Inside the room, I switch from hard pipe to flex, and then into the chip separator. I closed off the ends of the remaining open pipes and fired up the system and was very happy about the air draw all the way back to the table saw, an approximate 35'trip. |
||||||
 |
 |
|||||
 |
 |
|||||
|
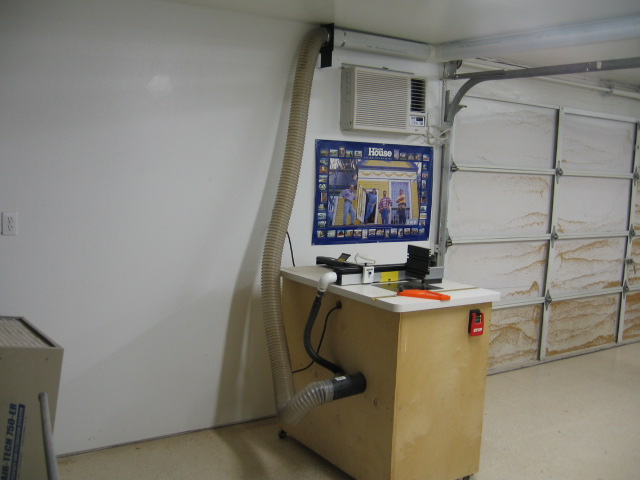
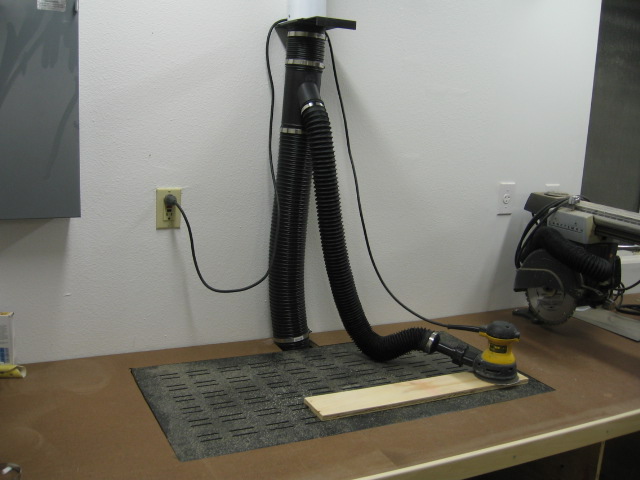
Next I ran a long flex hose against the east wall so I can hook up my big rolling tools like the router table, drum sander and planer. Then I piped up the sanding station - the unit draws ambient dust through the platform and the second smaller pipe pulls dust directly out of the palm sander. |
||||||
 |
 |
|||||
|
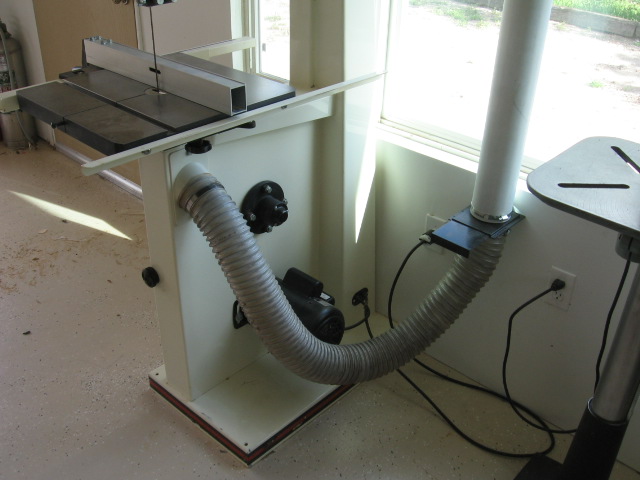
Finally I ran the piping around the corner and down to the bandsaw. |
||||||
 |
 |
|||||
|
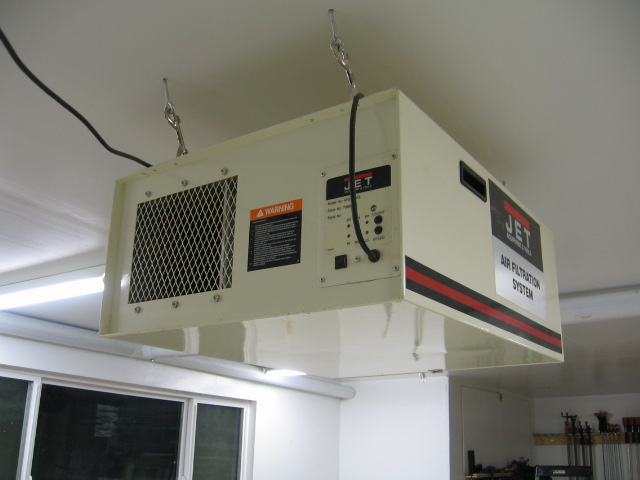
I hung the Jet dust filter, bolted directly into the cross beams, over the table saw. It does a good job of pulling any ambient dust out of the air. |
||||||
 |
||||||