|
|||||||||||||||||||||||


 |
||||||
|
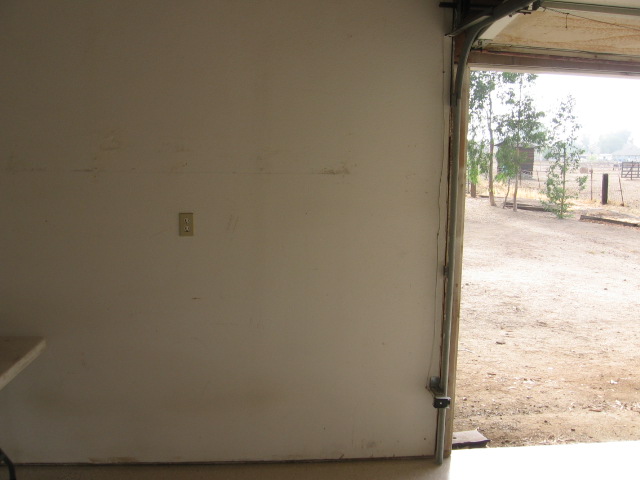
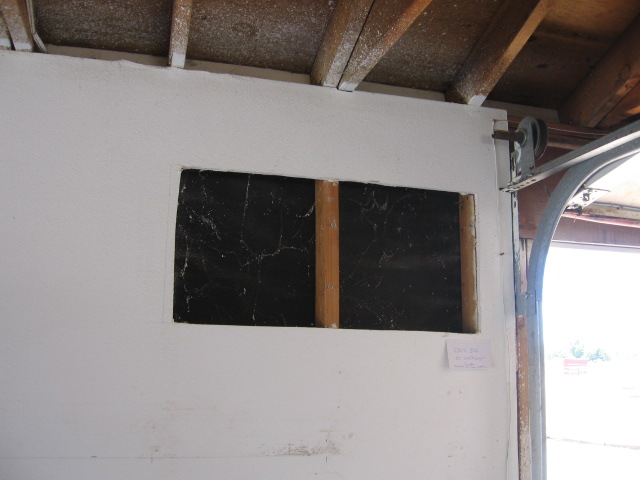
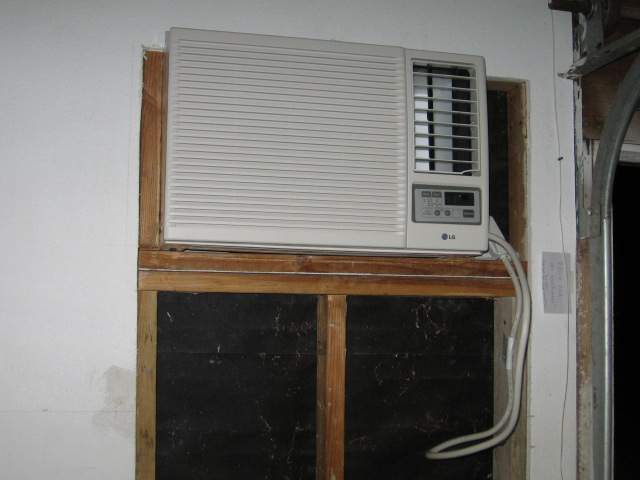
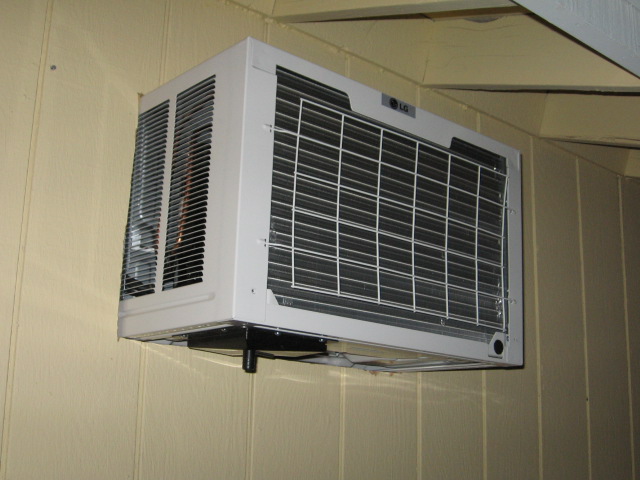
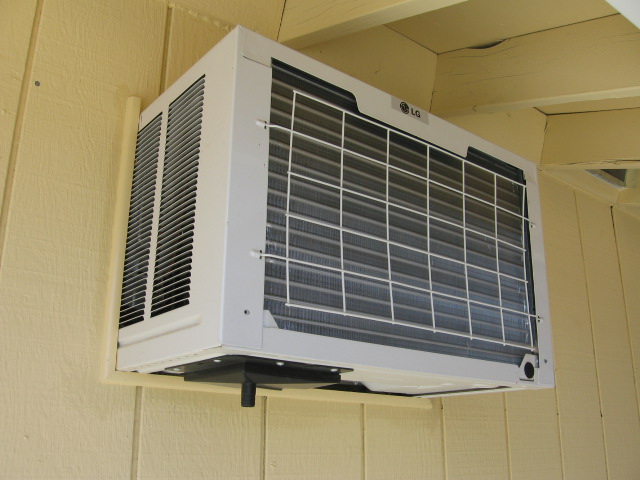
Here in Paso Robles we get some strong temperature extremes: it can hit 110F in the day in summer but drop back to 55F at night. In the winter it can go as low as 19F. I just barely survived the heat in my workshop in Texas so a comfortable work environment is paramount. So I decided I needed two systems to cool and heat the building effectively. I hadn't yet decided on a heating strategy when I went to buy a through-wall air conditioning unit (other than thinking about propane heaters, wood stoves and starting to look at electric radiant panels) when I noticed that the air conditioning unit I chose also had a built-in heater! I hadn't realized the industry had done this in a conventional unit. The one I picked is from LG, with 12,000 BTU cooling and 11,200 BTU heating capacity. That should be correctly sized to keep my 550 sq. ft. shop just right. The unit is Energy Star rated, but since I'm generating my own power, I won't worry about how much I'll be using it through the summer and winter. I chose a location high up on a wall so I could put a tool below without interference, and centralized it along the long wall, next to the garage door, for even temperature distribution. The outside of the unit is also in the shade of the carport next to the shop, on the morning sun side which will help it run cooler. I marked and cut out the drywall to see how the unit would look. |
||||||
 |
 |
|||||
|
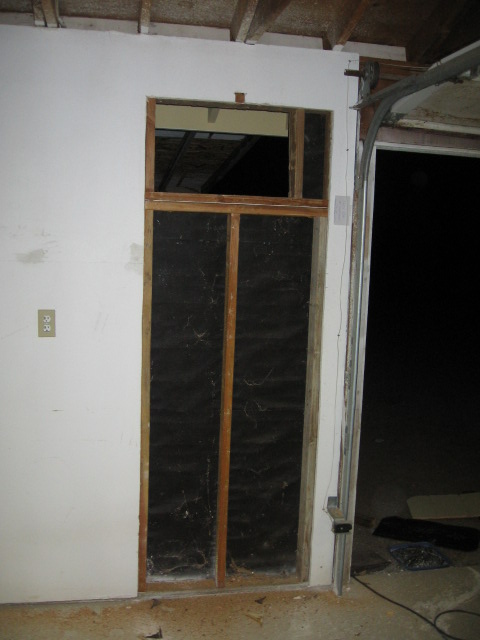
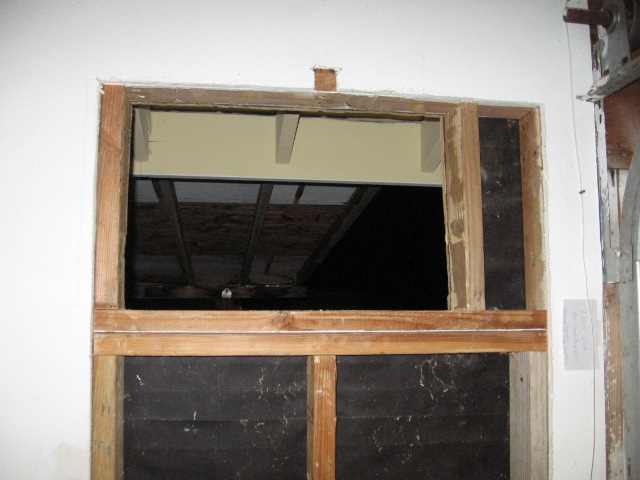
With that position looking good, I cut out the drywall down to the sill plate so I could add framing for the unit and additional studs to solidify the structure and support the weight. After checking that the shell fit into the framing, I cut out the hole through the outside wall. The gap to the right of the unit framing will do nicely for mounting the 220V outlet that the unit needs. No 110V power for this puppy. |
||||||
 |
 |
|||||
|
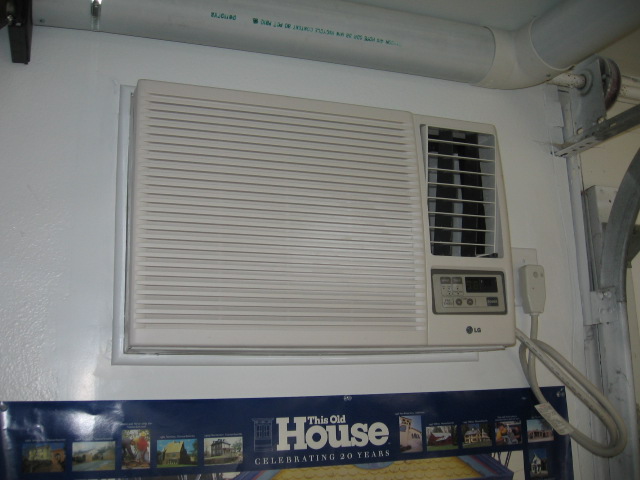
I installed the frame into the hole with a bunch of 2" screws right into the studs, tilting it about 1/2" below level at the back to allow for proper drainage of the condensed water. I then slid the unit into the frame, screwed it in and popped on the front panel. I'll put the drywall back later and seal around the unit. I'll also run the 220V circuit from the breaker box and rough-in the outlet as soon as I get guidance from my electrician. |
||||||
 |
 |
|||||
|
With the drywall complete, I installed and painted the inside and outside trim. |
||||||
 |
 |
|||||