Around The World – Lake Taupo – Wellington – Nelson
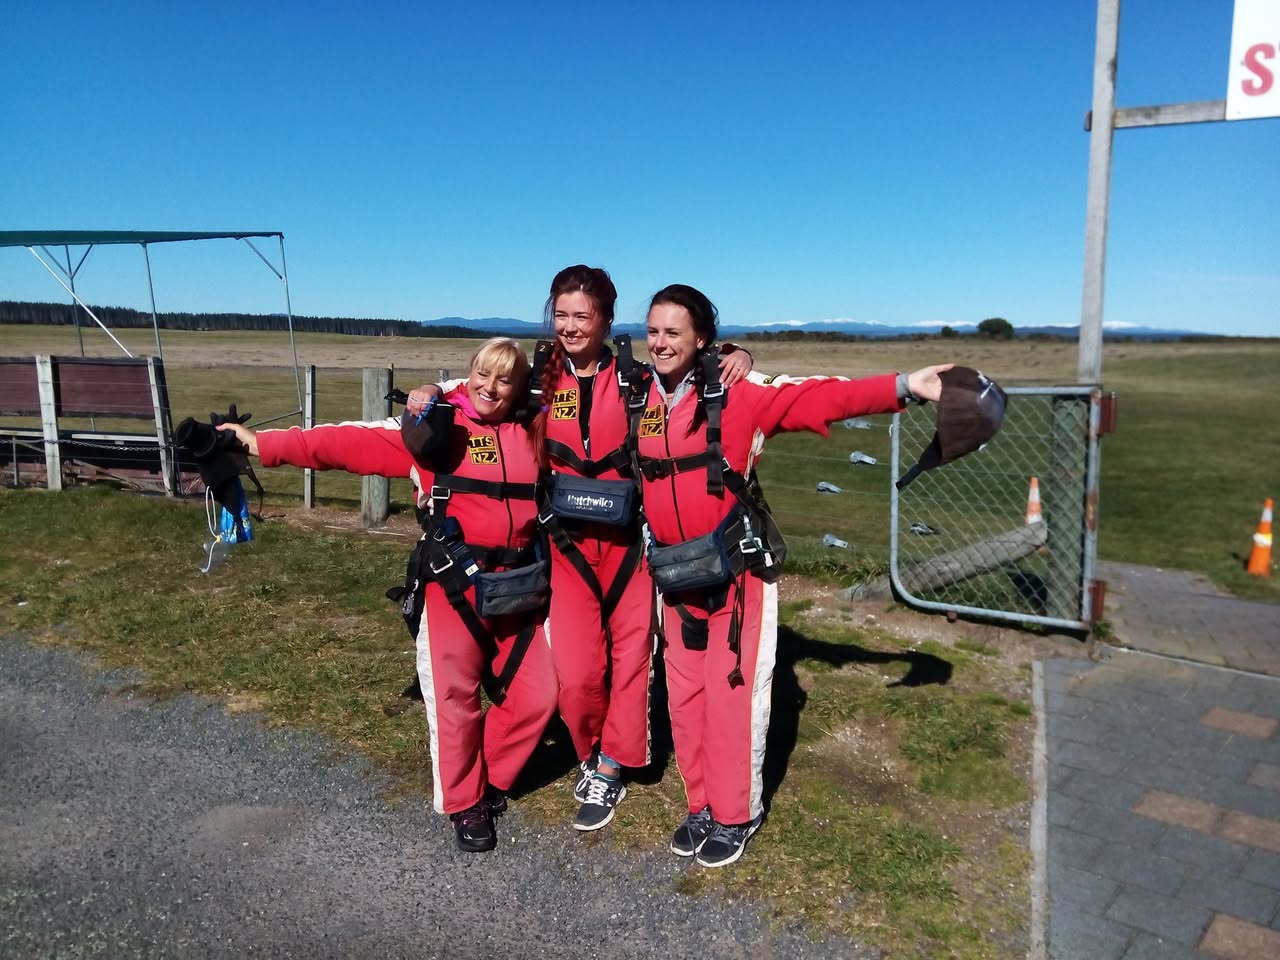
After our day at the geyser, today we’re heading to Lake Taupo so Chloe, Jenny and Kimarla can go skydiving. Denise and I, guided by rational thought, will stay on the ground.
We arrived at the airport and the Taupo Tandem Skydiving company. They checked in, got briefed and geared up. I took many pictures and videoed them walking to the plane and then all the way down. I posted more pictures and the video on their timelines.
We had a last quick lunch said our goodbyes. They are staying in the area today then heading down the East side of the South Island while I will be going down the West side. I have to be in Wellington tonight as tomorrow is a bit of sightseeing then onto the ferry for the Cook Straight crossing to the South island.
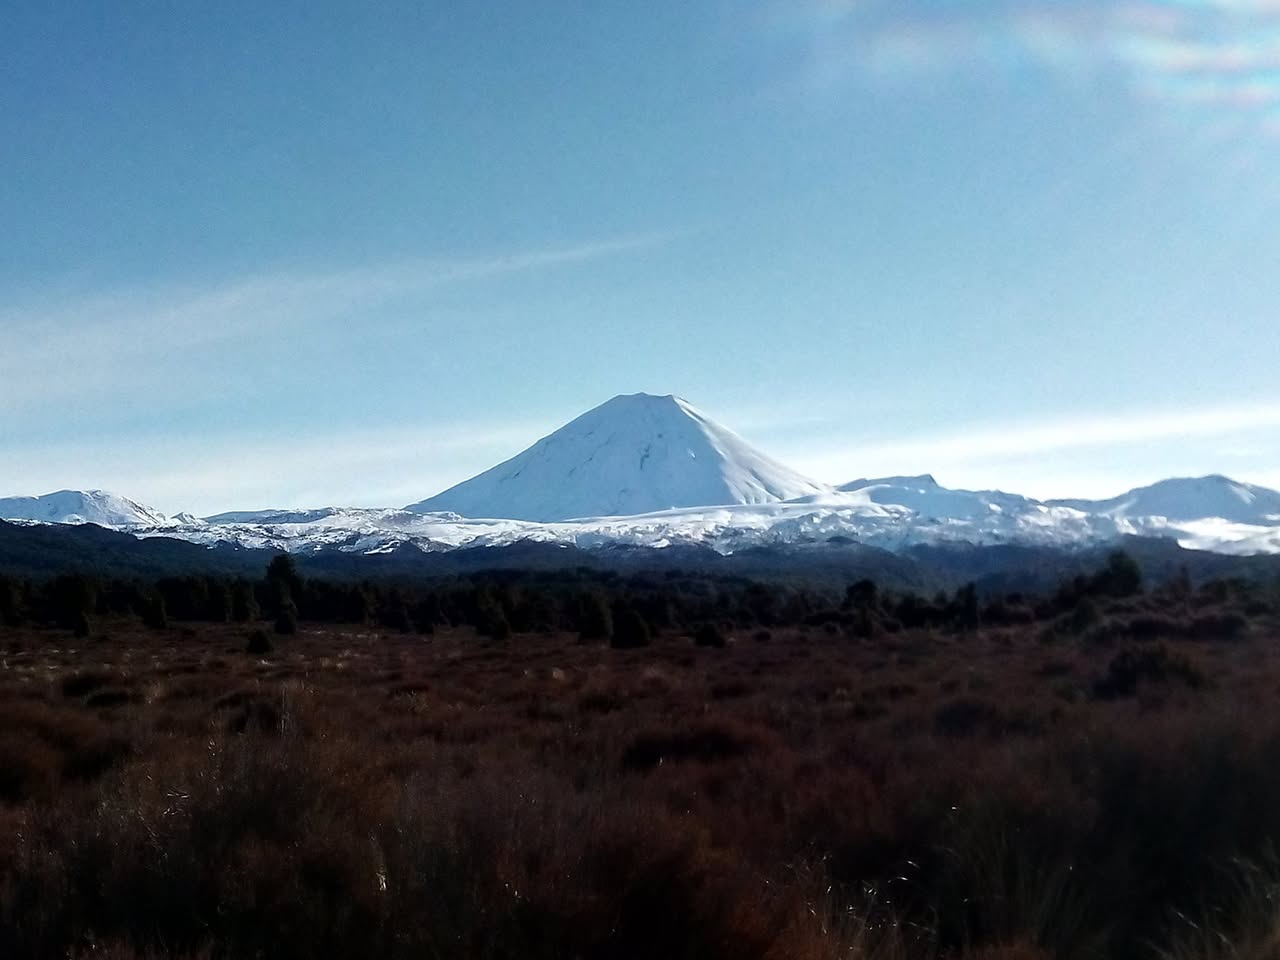
The drive down to Wellington was spectacular. The views over the Lake Taupo and to the two snow-covered mountains to the south was amazing. One of them, called Mount Ngauruhoe, was used for the shot for Mount Doom in Lord Of The Rings. Despite many Internet memes, you *can* “just drive your campervan into Mordor.”
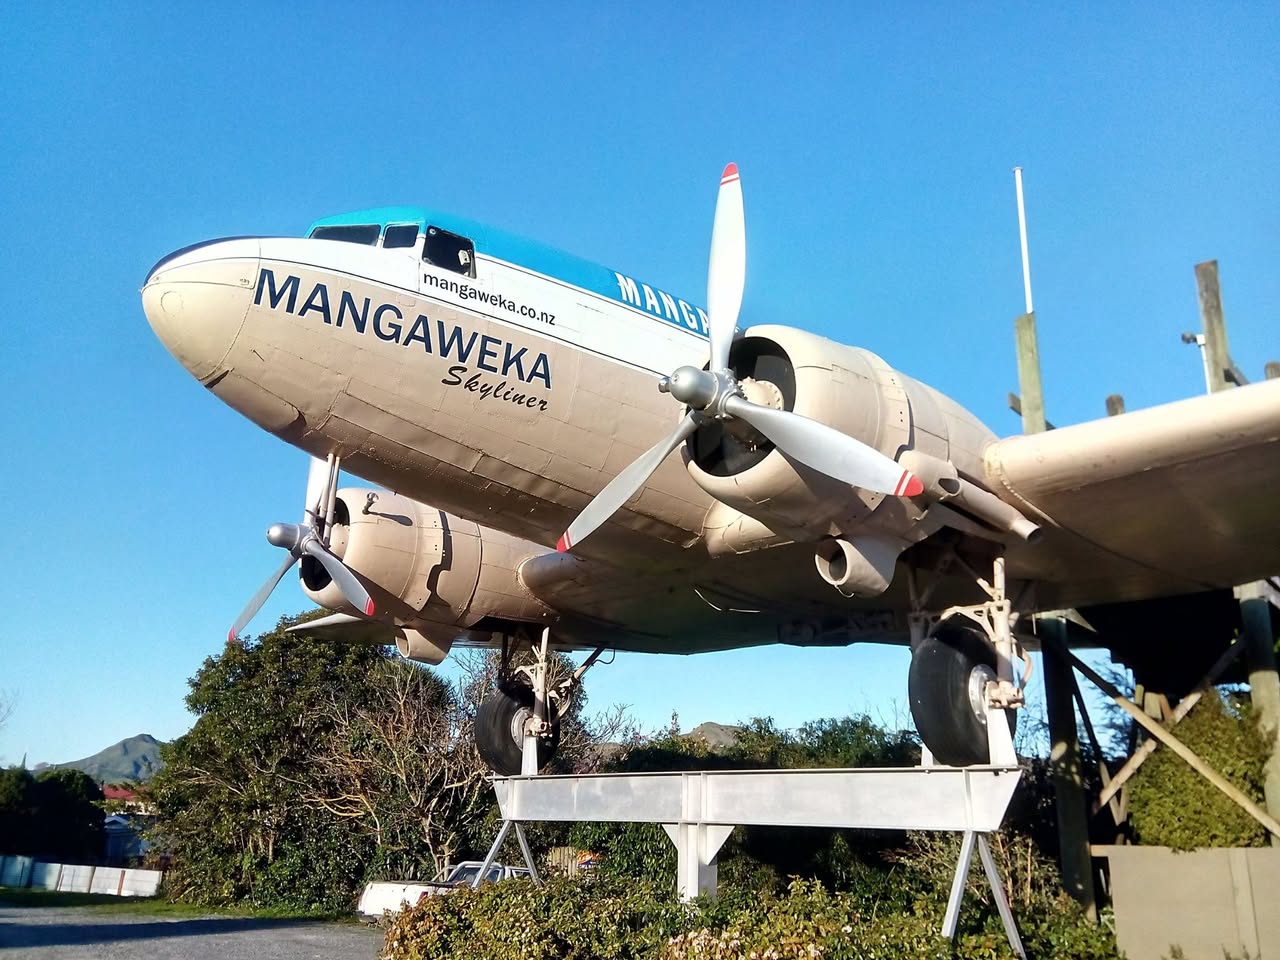
The road to the south went through steep gullies, rolling hills, flat stretches and then into a series of small towns. I filled the van up with gas, 3/4 of a tank for $108. Whew. I also passed a DC-3 aircraft mounted up in the air so I went back to take a picture. A man standing at the location said the shop below was being renovated and the plane used to be a fertilizer sprayer.
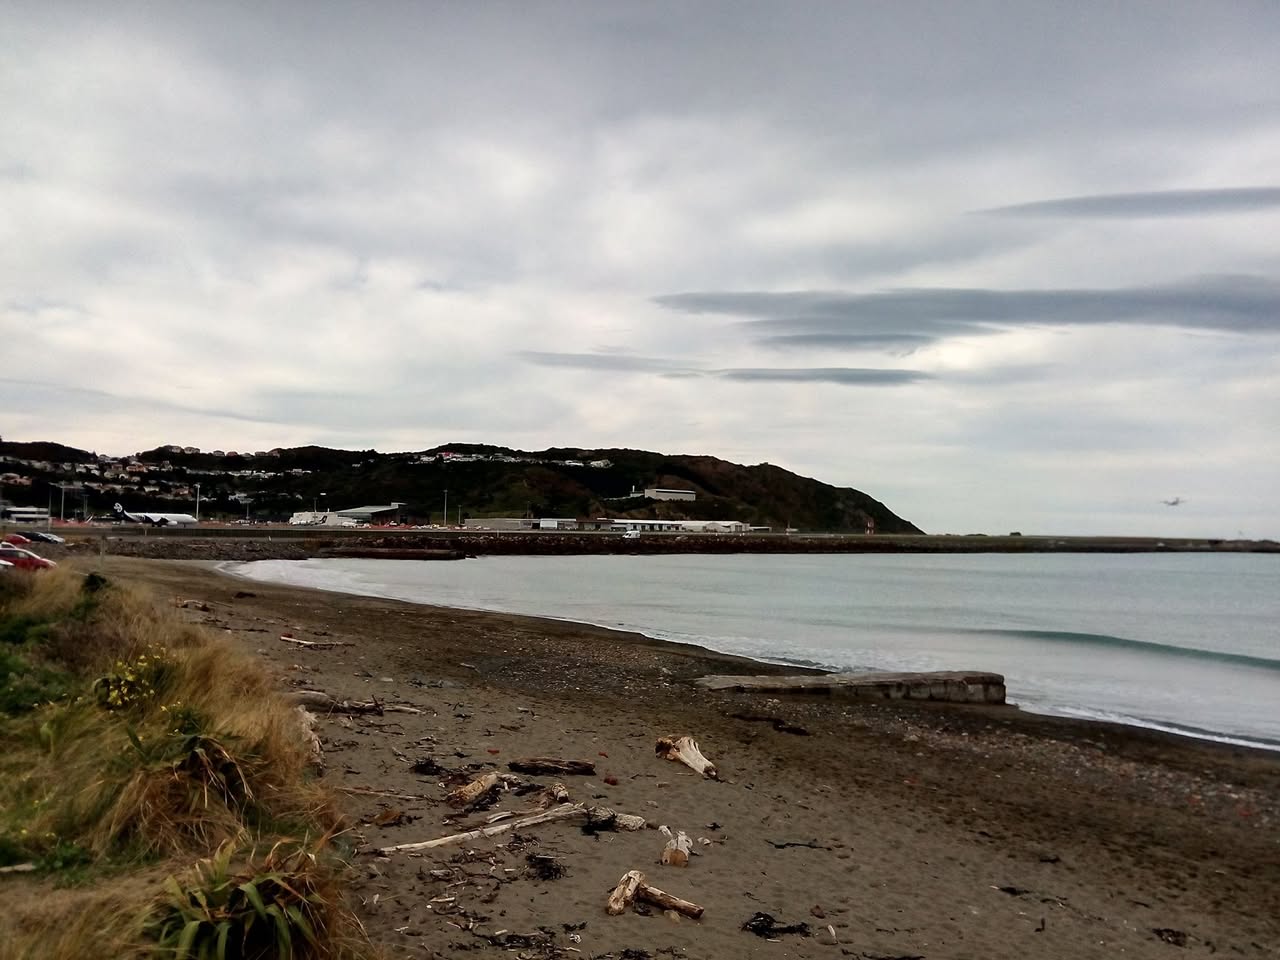
I arrived in Wellington at about 7 PM and drove to a free ocean-side campground, with toilets, on the southern coast of Wellington. It was actually warmer at night than back in Rotorua so I didn’t have to start the engine in the middle of the night.
I woke up to waves crashing onto the rocks and fog on the ocean which slowly burned off.
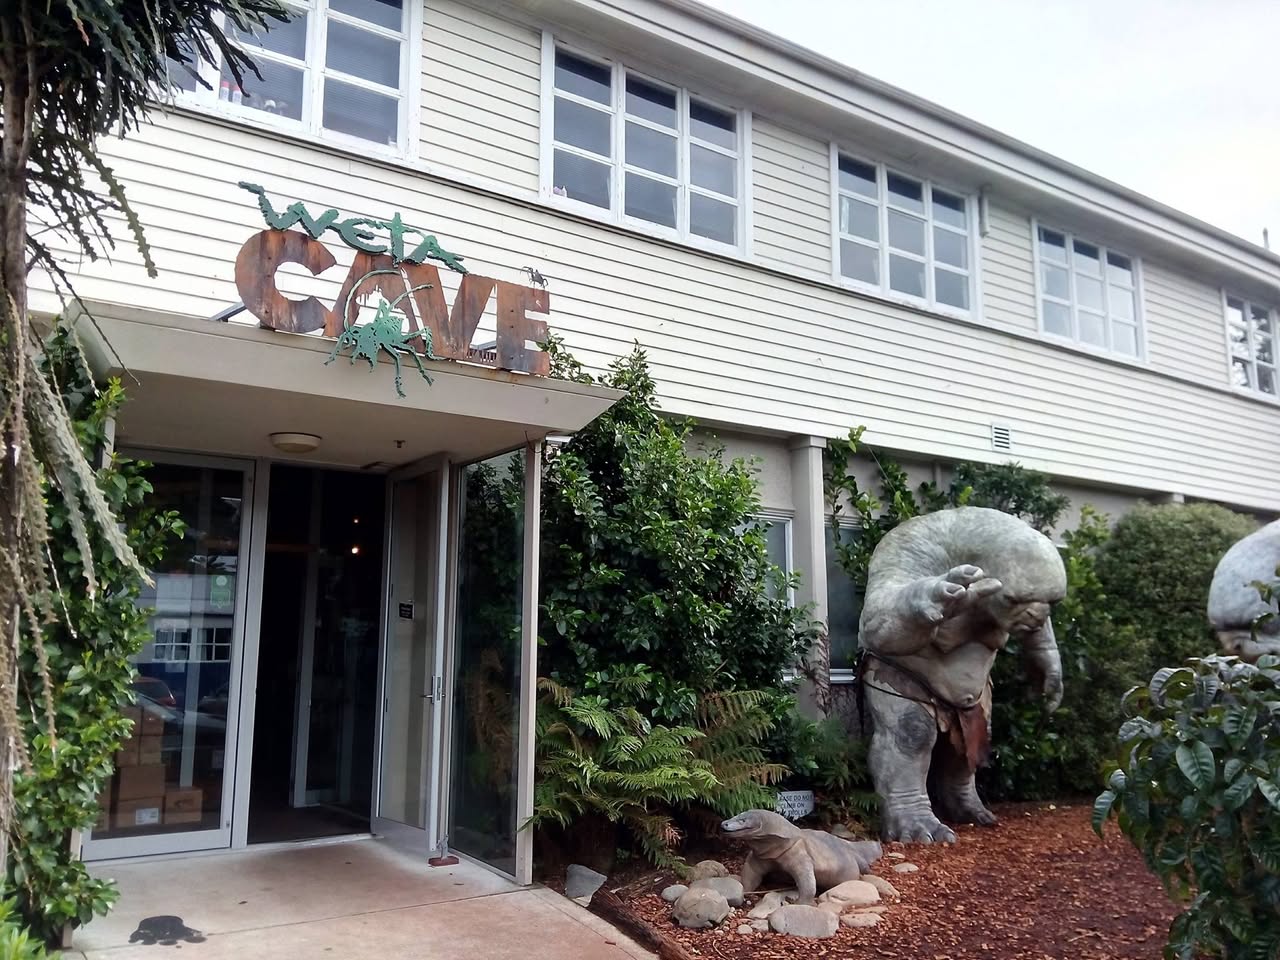
I checked on the map for things to visit in Wellington when I noticed “Weta Cave”. A weta is a large Kiwi grasshopper thing, but it’s also the name of the movie prop and digital production house used for the Lord Of The Rings movies, along with many others. Hoping against hope I checked and yes, it’s the same one! I drove along the coast road to the location and tried to find a parking place along the road. It’s a residential street and Weta’s buildings take up a city block. I parked next to a parking sign, written in English but the rules were so complicated I couldn’t interpret it, and walked down to the Weta entrance, hoping for the best against getting a ticket.
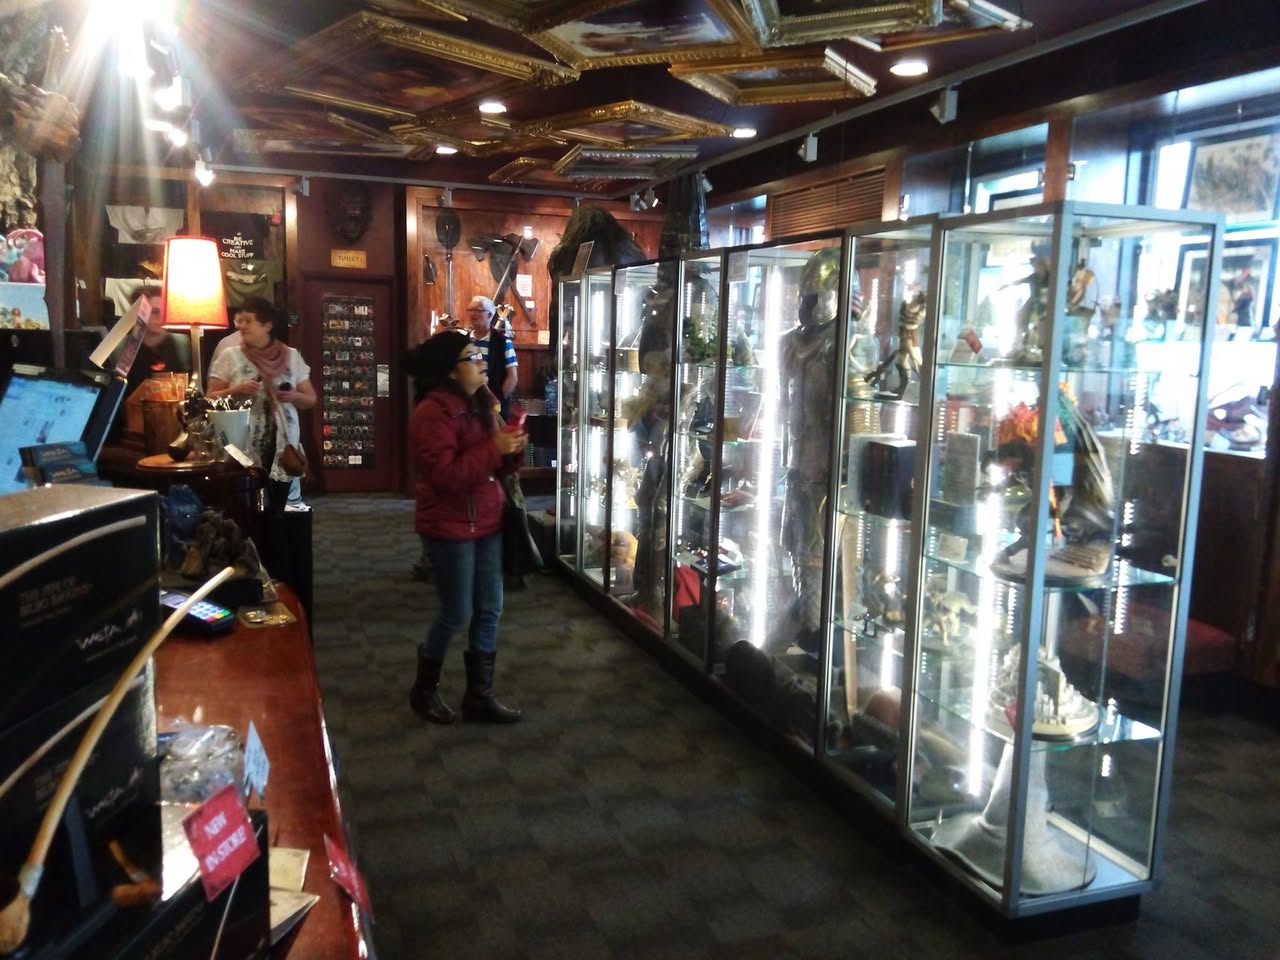
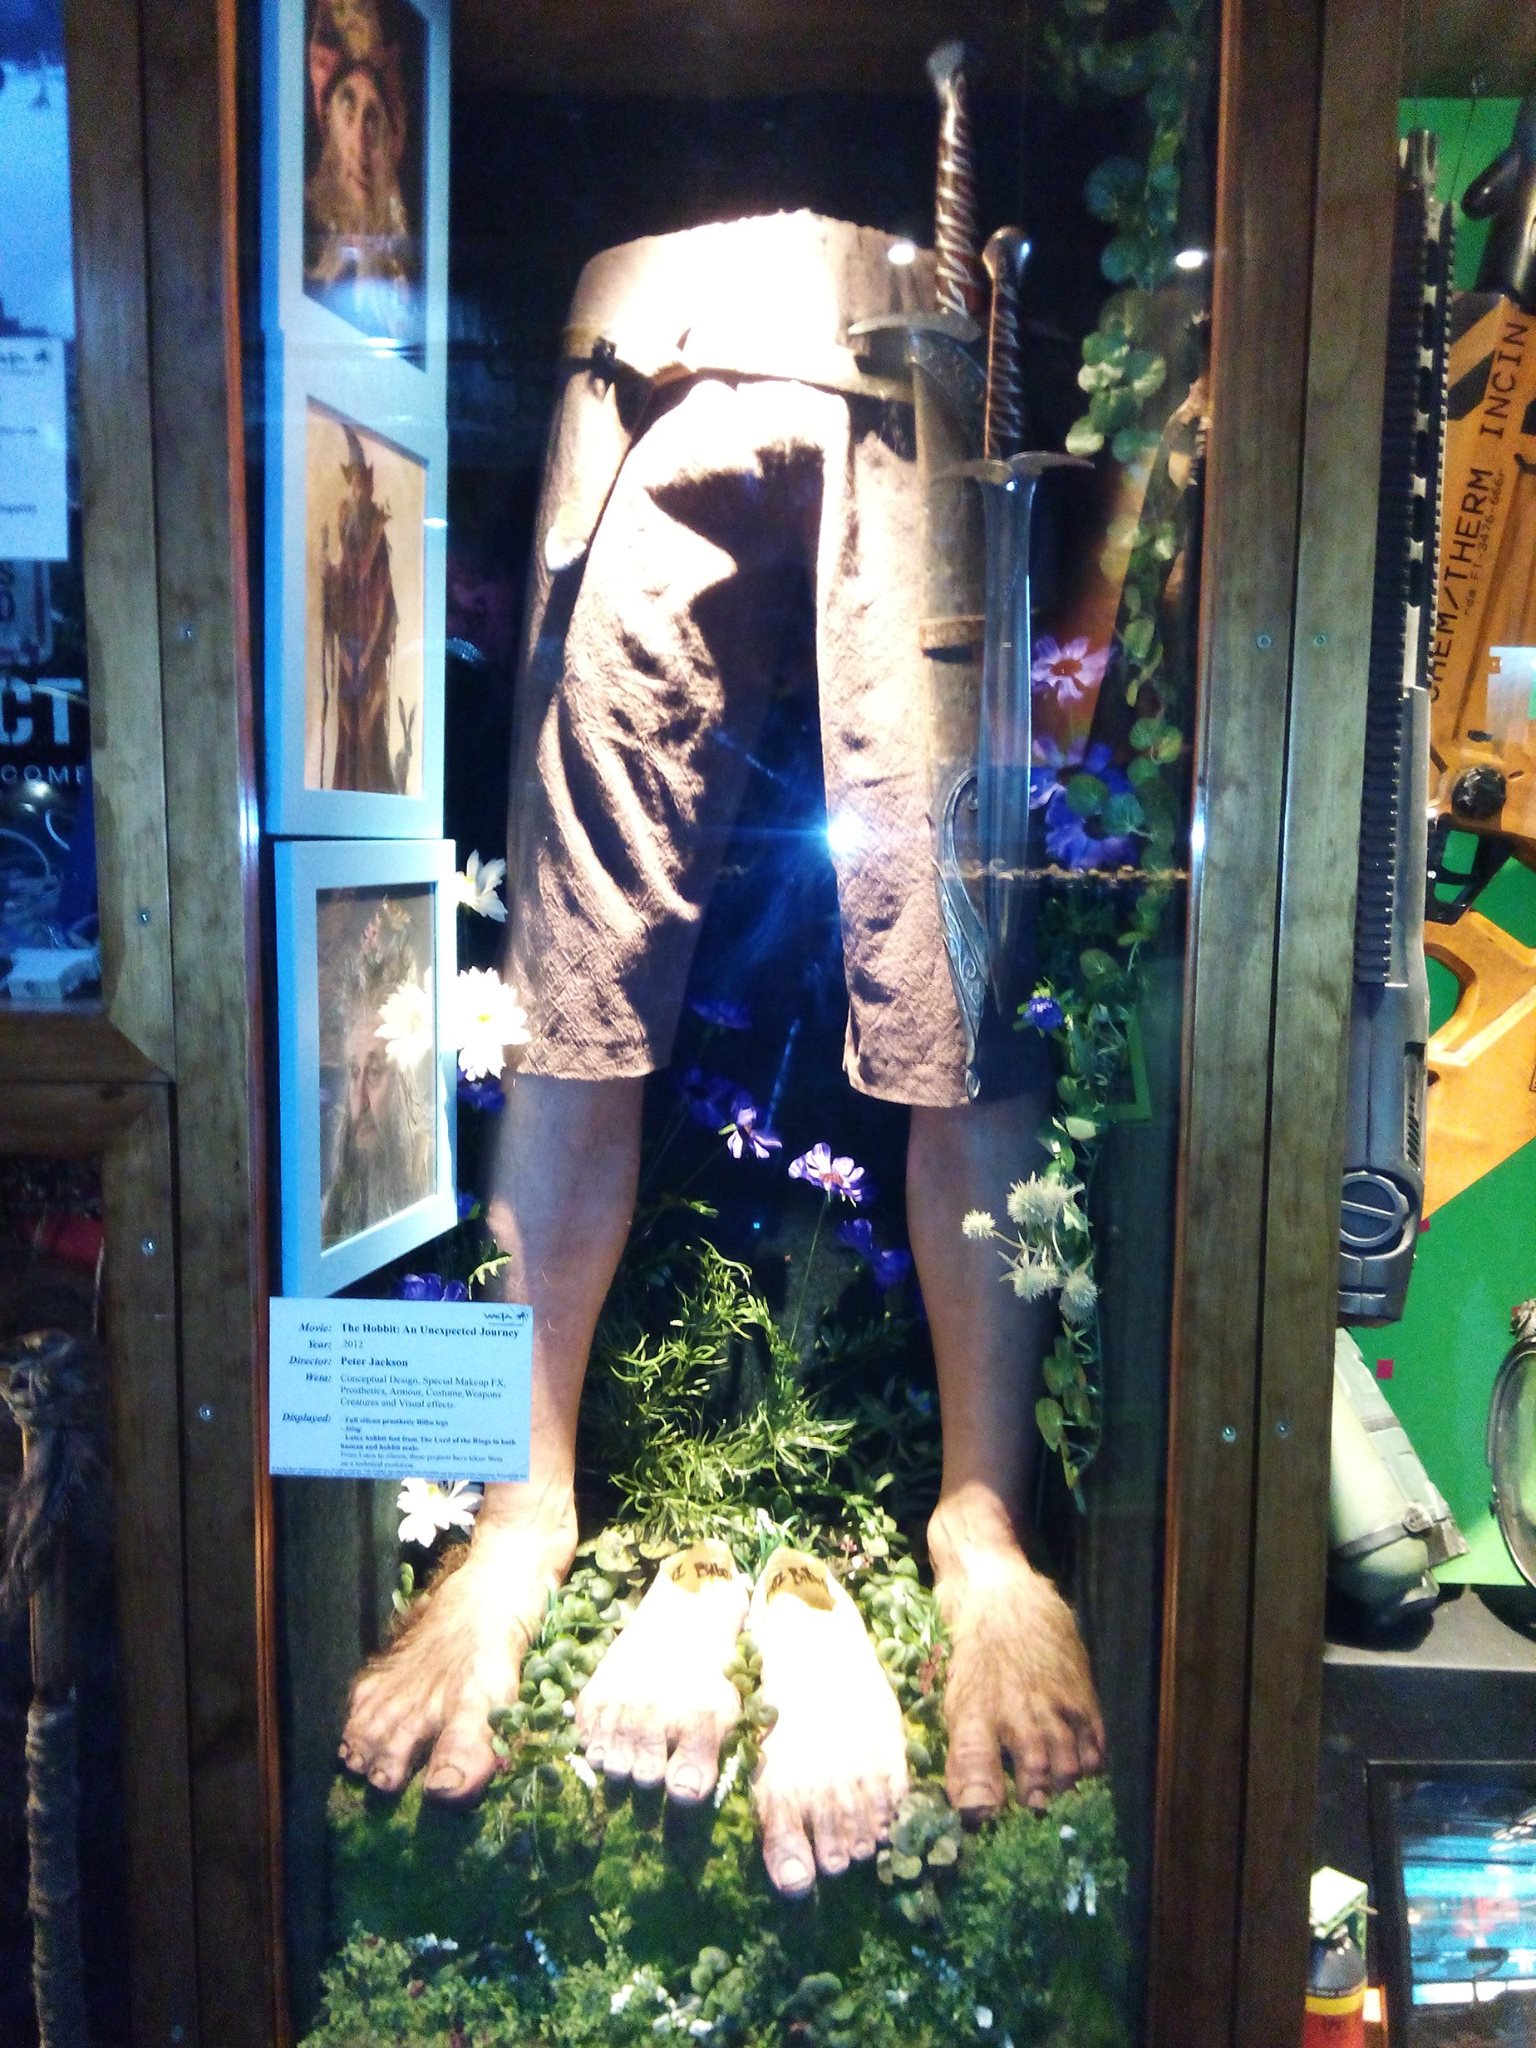
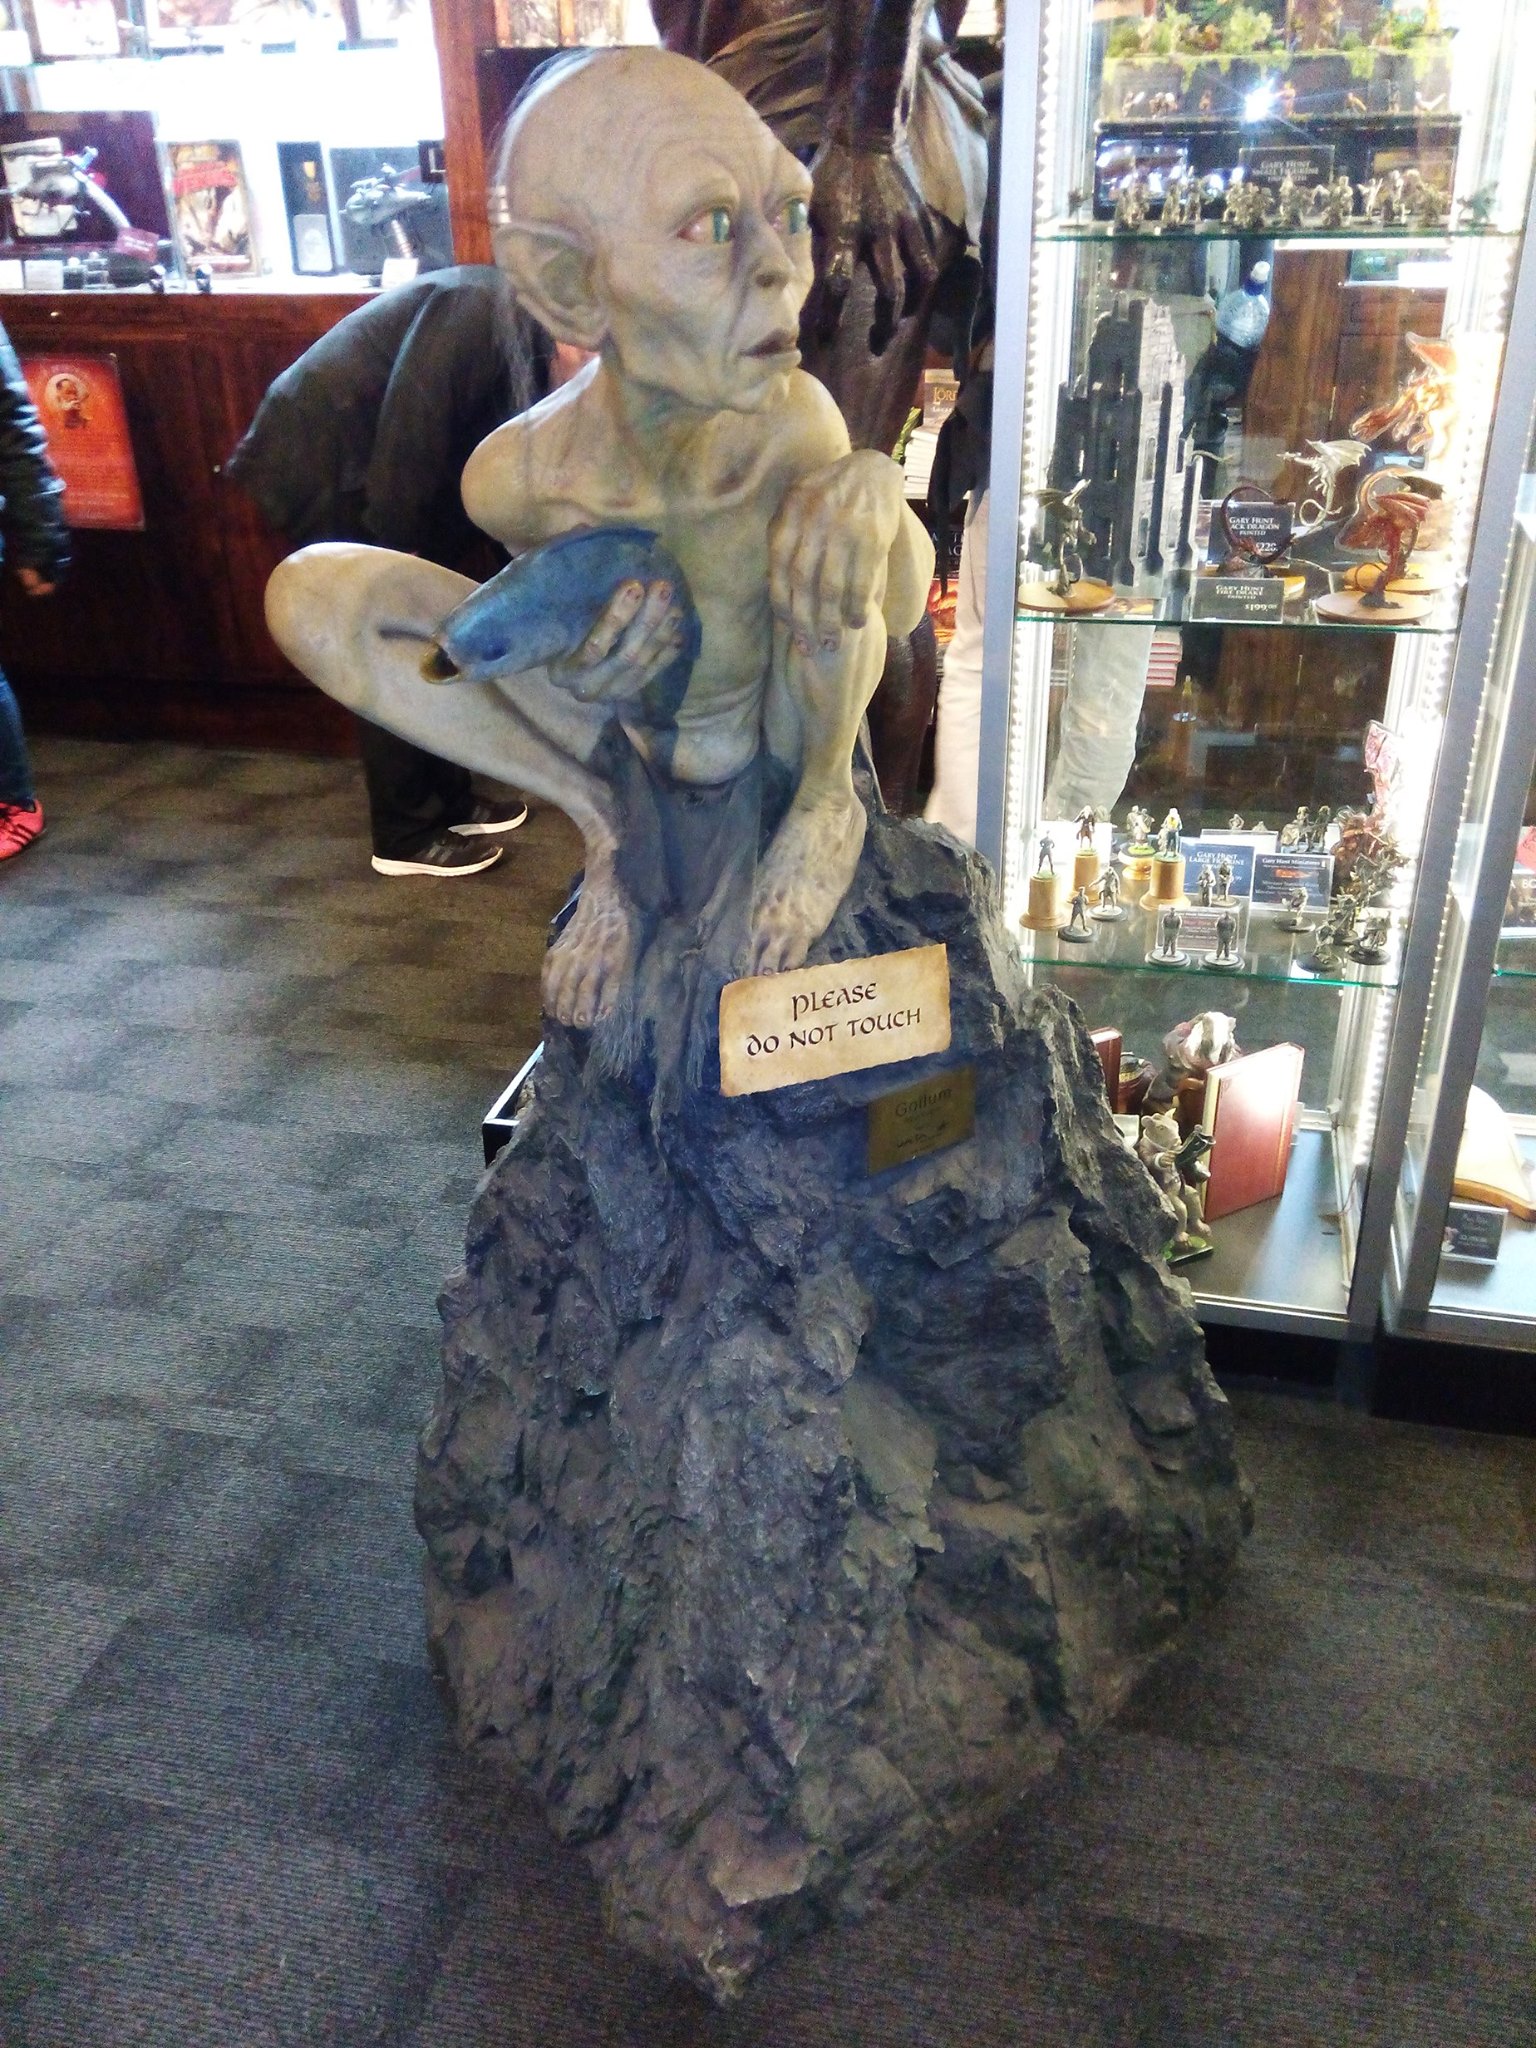
I signed up for the 11 AM tour and was told to wait “near the trolls”, so I did. Our tour guide gave an intro and we walked through an outside steel door into a display area adjacent to the actual model making labs. Once inside the door, we couldn’t take photographs which is a shame because of the pieces they had on display, I didn’t see any confidential information or materials for movies they were working on. Our guide was actually a worker in the paint department but he had tour duty today. I don’t know if they do it by rotation or on a volunteer basis or as some kind of punishment… He certainly had his banter down pat, with good jokes and anecdotes about items from movies we’ve all seen. He showed us the steps used to build a gun used in the movie District 9. First come artist’s drawings which are refined until stamped Approved by the director. Then it goes into a 3D software package where the shapes are defined and approved. Then a piece is fabricated on a CNC machine out of very dense urethane. This piece is hand-finished, then a silicone mold is made. The mold is then used to cast the finished piece or multiple pieces. These pieces are then hand-finished again and painted exactly as defined in the original artist rendering. This particular gun took two weeks from concept to completion, and was used for a few seconds in the movie.
We then moved on to the weapon area. Weta employs a Master Swordmaker, whose title was bestowed by Queen Elizabeth, one of the only ones still working in the world. Real swords are made from steel but are usually too heavy for anything except close-up shots, so aluminum or plastic ones are normally used for battle scenes. Our guide was on-set during some of the Lord Of The Rings shooting, in charge of about 60 plastic swords. The plastic has a downfall, if it gets movie blood on it, the paint peels off, so everyone on the set was warned to keep blood off the swords until final closeup shots where real steel blades were needed. Of course, blood got on them all, so he stayed up all night cleaning and repainting 60 swords.
Our guide then showed us a small 3D printer with a half-completed human skull inside. Weta is on the forefront of 3D printing and is working with the manufacturers on larger, higher resolution and faster printers. When Weta bought their first one, they turned it on and kept it running 24×7 for 3 months without stopping. They’re now testing one that can do 62 layers of material per millimeter, we’re talking fully lifelike detail is now possible. The guide says they’ll probably end up buying it, but will ask for a discount because it’s a used model… He showed us a full-human-size battle suit that was fully 3D printed as sub-components and then assembled into the final suit.
From there we went to the chainmaille area. Steel maille is very heavy, but Viggo Mortensen insisted on using it for his part of Aragorn in Lord Of The Rings. Earlier, woven string simulations were used but now realistic extruded plastics are generally used.
Lastly we saw a working area with a giant snail being made for a non-movie client, it’s the second for this same customer, this guy must really like snails. It has a wire frame underneath, then a special filament-clay which is 3 times harder than concrete is layered on top and then shaped before it cures.
From Weta Cave, I stopped for more sandwich ingredients, and booked my passage on the InterIslander ferry from the grocery store parking lot. I didn’t want to book it any earlier until I knew that I would make a specific sailing time.
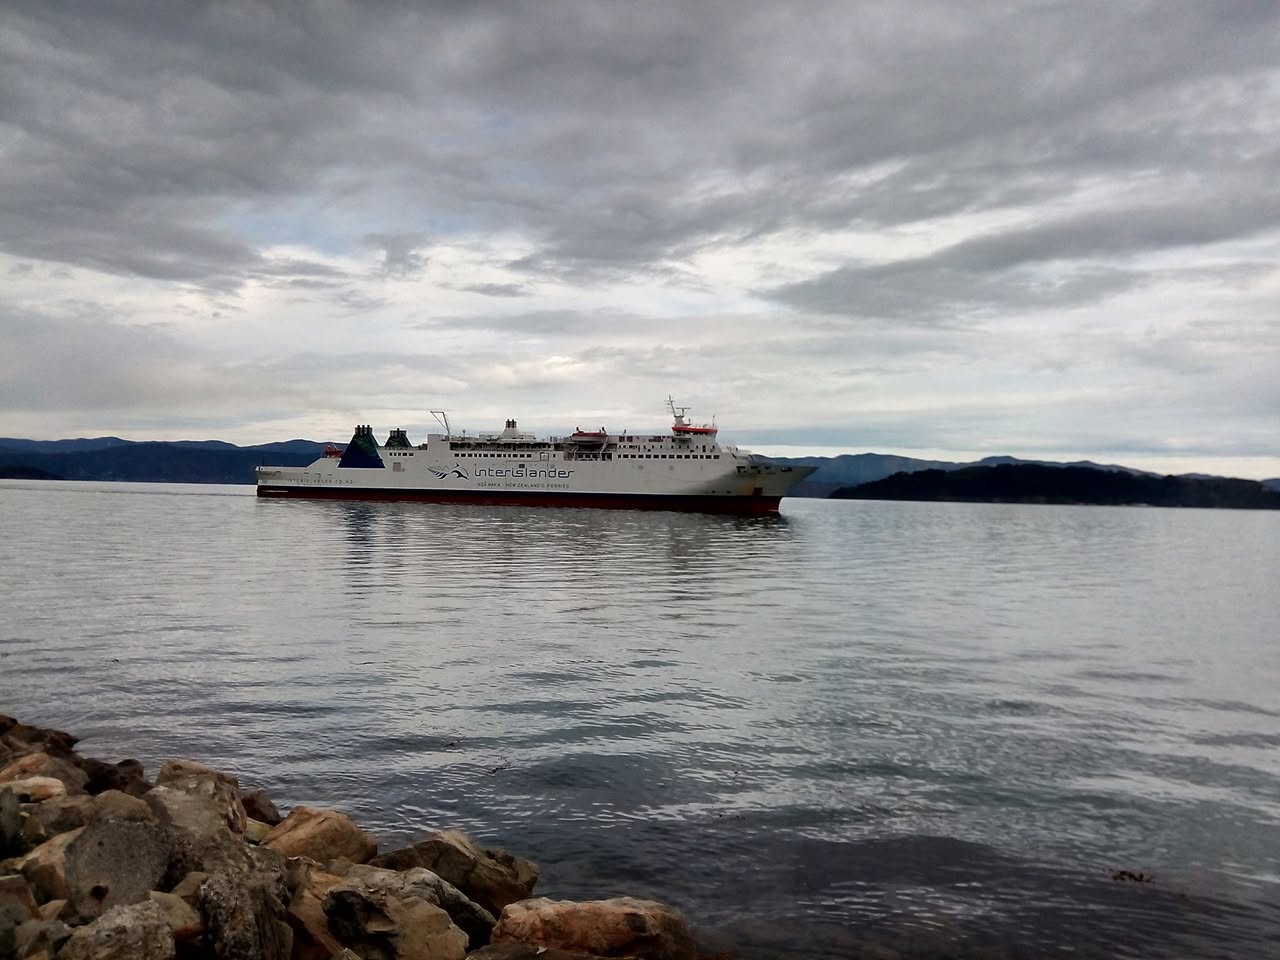
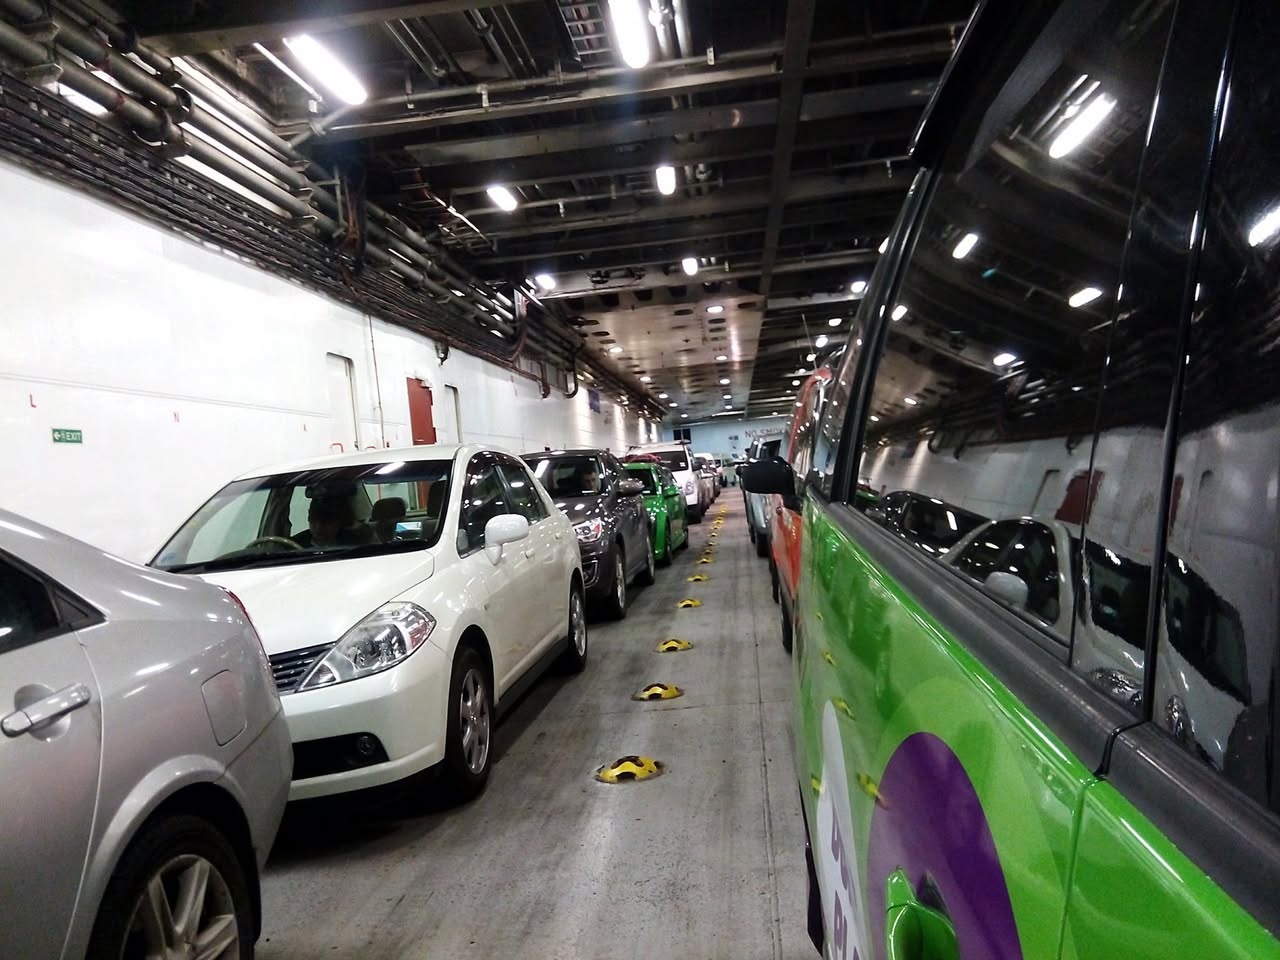
I got in line at the ferry port, and the “start of boarding” time came and went with no ferry to be seen. I started to get my now familiar ferry problem feeling in the pit of my stomach. I made sandwiches for lunch and lounged in the back of the van until the ferry arrived, offloaded people, trucks and trains and then we started to roll in. My line was the first to go, we entered a cavernous space, drove all the way to the front then turned around and lined up pointing back to the way we came in. This must be the best way to handle a car ferry that only has a back entrance.
Nobody is allowed to stay in a vehicle for the 3 hour crossing, for safety I suppose… There goes my power, food and comfortable bed… I brought needed stuff up with me to the lounge deck with lots of comfy chairs, play areas for kids, a movie theater, souvenir and snack shops. I spotted a power plug near a group of 5 chairs but the only woman sitting there said her husband was coming and there was no room for me, giving me the stinkeye. OK, lady, have a nice crossing. I watched the first 3 episodes of Mr. Robot on the way over, very dark but accurate on all of the computer hacking stuff, I’m impressed.
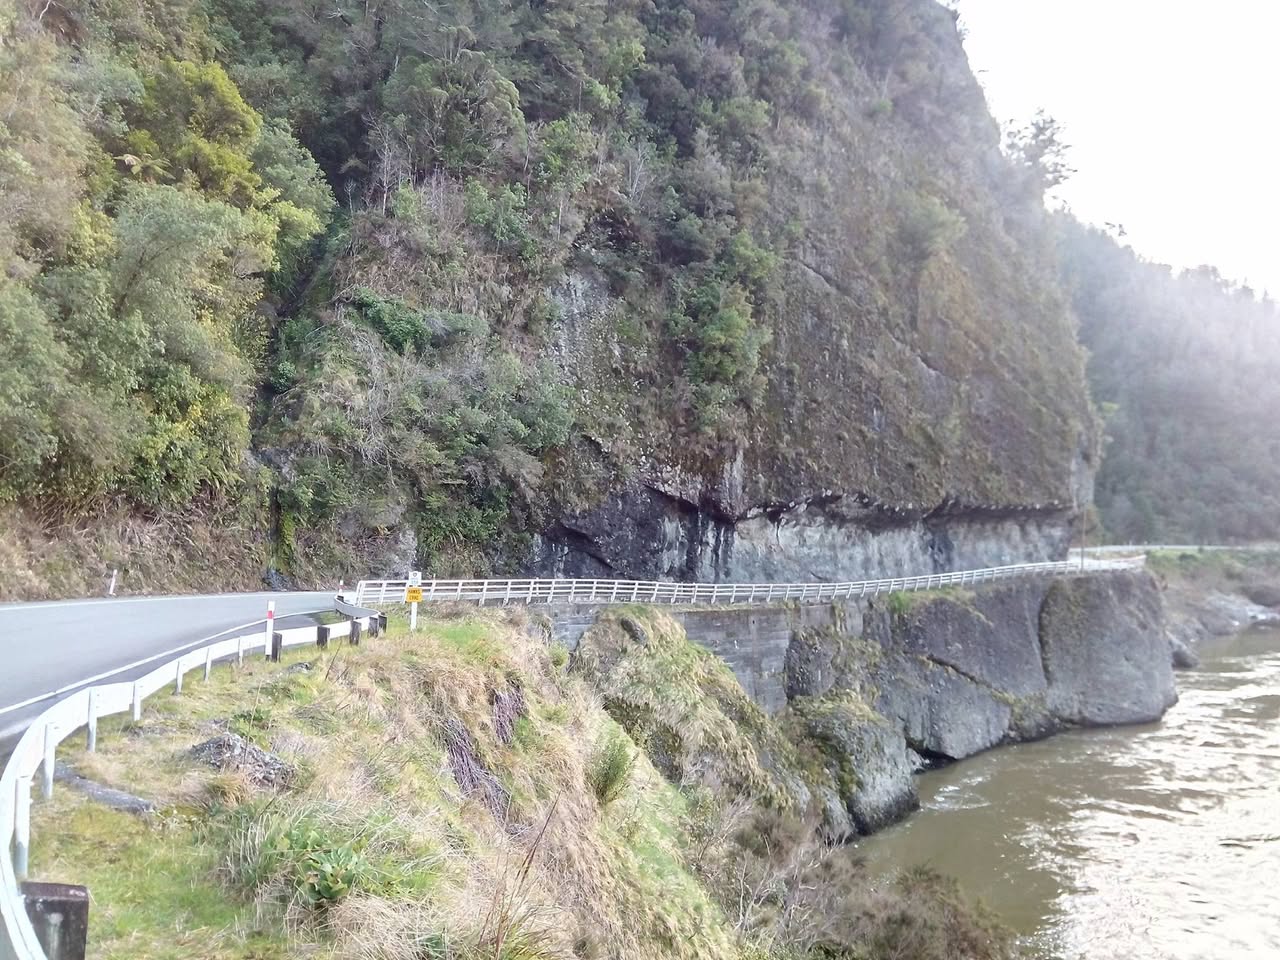
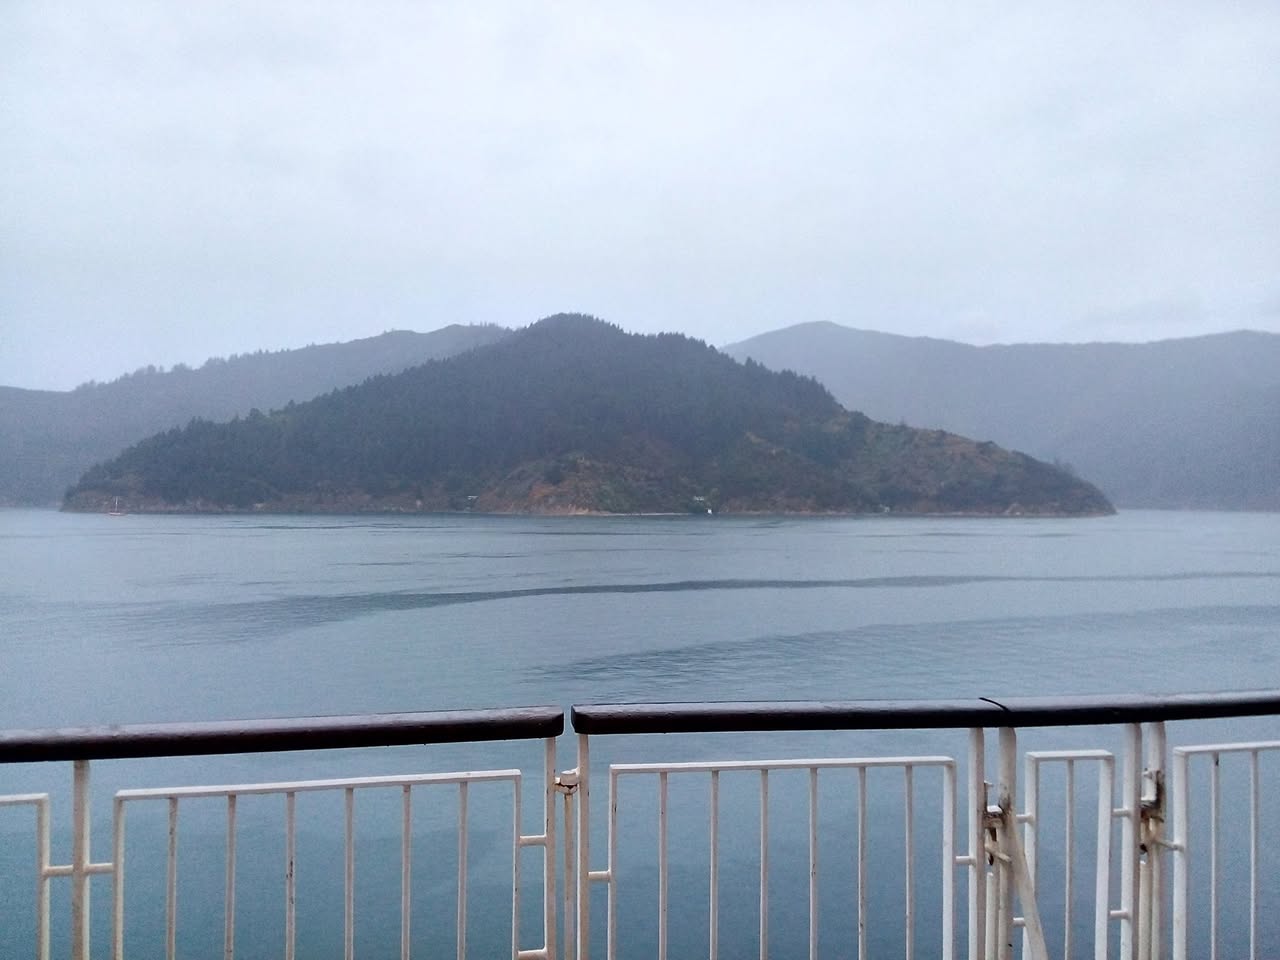
We arrived at the dock in Picton exactly 3 hours later. We all drove off the ship and Google Maps took me to the town of Nelson on the west coast via the picturesque 2-hour-twist-and-turn-and-up-and-down-coast-hugging road. I’m sure it would have been gorgeous on a sunny day, but at night and in the rain it. just. sucked. Took me 2 1/2 hours to get to the campsite. My NZ camping app said the price was $6 for the spot to park and $2 for a hot shower. Sadly the price went up to $10 for the spot 3 years ago so the app is badly out of date. That’s OK, I’m happy to just be off the road, warm and dry in my little cave in the back of the van, on the South island at last, hearing the rain on the roof as I fell asleep.