Although I’m a software guy at heart, I’ve been dabbling on the hardware side since my father and I built Heathkit stereos and TVs way back in the 60s and I had a job in high school laying out 6 layer circuit boards on a light table.
Here are the YouTube videos I’ve made, grouped by project.
The ESP32 Microcontroller and how to Develop and Debug It
You’ll note that I’m a big fan of the ESP32 microcontroller and I use it in all of my projects. It’s a dual-core design and has built-in Wifi and Bluetooth, two UARTs, SPI and CANbus, Flash memory and RAM plus dozens of analog and digital input/output pins. I started building code using the Arduino tools, but have now switched to VS Code + Platform IO.
Learning how to write and debug code on the ESP32 is so tricky that I made a 37 minute long video about it, essential viewing for any ESP32 developer!
The EV Fuel Gauge – EVFG
This circuit board can be used by anyone converting an old gas car to electric. When you remove the gas tank, the gas gauge in your dashboard has no signal going to it, so it will always sit at Empty. This board reads your battery pack voltage by Wifi or direct connection, and using calibration values you set via Wifi parameters, sends a voltage to the gauge representing the State of Charge of the battery pack. It can also light up the Low Fuel light at a percentage you set.
EV Fuel Gauge - 9 - Debugging my Overengineered ESP-32 Power Supply
After the success of using the AOZ1390DI chip to manage the multiple power supply inputs on the test board, as shown in the "EV Fuel Gauge - 8" video, I ...spent the summer of 2025 trying to make it work in my real ESP32 board. And it just wouldn't. I spent a lot of time narrowing down the root cause and I believe that the true problem is the use of the AOZ1390DO-02 "error latching" chip goes into failure mode nearly every time when plugged in via the ESP-PROG flash and debug board. This is a fatal error in my design, it just has to work. I this video I walk you through the debugging process to come to this conclusion using 3 different boards.
I also apologize for such a long time between videos but I did my usual swap from Barcelona to Thailand for the winter, but this time I did a very unusual mostly-overland trip through the -stan countries in Central Asia. I mostly enjoyed it but the logistics of transport and border crossings are not for the faint of heart.
The next video will come out soon, showing my redesign and commitment to a new circuit board and getting it manufactured in Bangkok.
EV Fuel Gauge - 9 - Debugging my Overengineered ESP-32 Power Supply
After the success of using the AOZ1390DI chip to manage the multiple ...
After the success of using the AOZ1390DI chip to manage the multiple power supply inputs on the test board, as shown in the "EV Fuel Gauge - 8" video, I ...spent the summer of 2025 trying to make it work in my real ESP32 board. And it just wouldn't. I spent a lot of time narrowing down the root cause and I believe that the true problem is the use of the AOZ1390DO-02 "error latching" chip goes into failure mode nearly every time when plugged in via the ESP-PROG flash and debug board. This is a fatal error in my design, it just has to work. I this video I walk you through the debugging process to come to this conclusion using 3 different boards.
I also apologize for such a long time between videos but I did my usual swap from Barcelona to Thailand for the winter, but this time I did a very unusual mostly-overland trip through the -stan countries in Central Asia. I mostly enjoyed it but the logistics of transport and border crossings are not for the faint of heart.
The next video will come out soon, showing my redesign and commitment to a new circuit board and getting it manufactured in Bangkok.
EV Fuel Gauge - 8 - 3.3V Power Supply Fix with AOZ1390DI Test Board
I fixed a major design flaw in my EV Fuel Gauge board’s power supply ...
I fixed a major design flaw in my EV Fuel Gauge board’s power supply system with this new test board featuring the AOZ1390DI chip! My previous board struggled when I ...tried to manage up to three power supplies simultaneously, regulate them to a stable 3.3V, and prevent reverse current from flowing back through the power stage—a critical issue for safe and reliable operation in electric vehicle projects. After researching solutions, I discovered the AOZ1390DI, a chip perfectly suited for this task with its built-in reverse current protection and efficient regulation capabilities. In this video, I walk you through the journey: from the initial design failure to building and testing this new board, which performed flawlessly, maintaining a steady 3.3V output across all power inputs without any backflow issues. With this power supply system now proven, I’m ready to design the next version of my EV Fuel Gauge board, which I’ll showcase in my upcoming video. This is a game-changer for anyone working on EV battery management or multi-power supply designs—watch to see how it all came together! Share your power design tips or favorite chips in the comments below!
DIY Circuit Board Reflow Oven – First Functional Test with a 3D Printed Case & 5V Power Supply
Ever wanted to build your own circuit board reflow oven? In this ...
Ever wanted to build your own circuit board reflow oven? In this video, I take a regular toaster oven and turn it into a precision circuit board reflow machine using ...the Reflow Master Pro controller. Before even running my first test, I designed and 3D printed a custom mounting case for the controller and added a 5V power supply to keep everything running smoothly.
🔧 What’s Inside?
✅ Converting a toaster oven for circuit board reflow
✅ 3D printing a custom mounting case for the controller
✅ Installing a dedicated 5V power supply
✅ Running the first functional test
✅ What worked… and what’s next
If you're into DIY electronics, circuit board assembly, or hardware mods, you’ll love this build! Subscribe and hit the 🔔 for more hands-on projects!
Inside a High-Tech PCB Factory! SMT, Wave Soldering & Testing in Action
Ever wondered how circuit boards are professionally assembled? Join me ...
Ever wondered how circuit boards are professionally assembled? Join me on an exclusive tour of Summit Electronics in Bangkok, where cutting-edge SMT pick-and-place machines, high-speed through-hole assembly lines, and powerful ...wave soldering systems bring PCBs to life!
🔧 What you'll see in this video:
✔️ SMT part placement with precision pick-and-place machines
✔️ Through-hole assembly with automated production lines
✔️ Wave soldering in action for mass production
✔️ Advanced optical, electrical & functional testing ensuring quality
From start to finish, this factory visit showcases the high-tech processes behind modern electronics manufacturing. If you're into PCB design, hardware engineering, or just love seeing machines at work, this is a must-watch!
📌 Don't forget to like, comment, and subscribe for more electronics content!
This is a board I built to help me to design new circuit boards. It lets me build up a design using USB power and communication, FTDI program flashing, high-precision A/D and breadboard jumper access to every pin. Future versions will include USB-C and CANbus.
New project! ESP32 Protoboard
This is the first in a series of videos documenting a new project - the ESP32 Protoboard. Yes, it's an awful name. Put some new name suggestions down ...in the doodelydoo. If I like yours, you get a free board.
It's a prototyping board for ESP32-based projects, with support for a dual-core CPU, flash memory, Wifi, Bluetooth, ADC, DAC, Digital In/Out, Digital PWM, Touchpad, I2C, SPI and more. All ESP32 pins are available and each pin's full function list is silkscreened on the board. I added a high-precision 4-channel ADS1115 Analog-To-Digital chip to overcome the ESP32's lousy native ADC.
Timestamps:
0:00 - Introduction
0:34 - Project Requirements
2:54 - Why a separate ADC?
4:41 - Board Schematic
6:50 - Board Layout
10:30 - First board back from JLCPCB
12:01 - Soldering on the parts
12:23 - It's indescribably beautiful!
14:00 - First power up
14:48 - Blinky works
15:31 - Do you want one?
16:20 - Naming contestShow More
Now Playing
New project! ESP32 Protoboard
This is the first in a series of videos documenting a new project - ...
This is the first in a series of videos documenting a new project - the ESP32 Protoboard. Yes, it's an awful name. Put some new name suggestions down ...in the doodelydoo. If I like yours, you get a free board.
It's a prototyping board for ESP32-based projects, with support for a dual-core CPU, flash memory, Wifi, Bluetooth, ADC, DAC, Digital In/Out, Digital PWM, Touchpad, I2C, SPI and more. All ESP32 pins are available and each pin's full function list is silkscreened on the board. I added a high-precision 4-channel ADS1115 Analog-To-Digital chip to overcome the ESP32's lousy native ADC.
Timestamps:
0:00 - Introduction
0:34 - Project Requirements
2:54 - Why a separate ADC?
4:41 - Board Schematic
6:50 - Board Layout
10:30 - First board back from JLCPCB
12:01 - Soldering on the parts
12:23 - It's indescribably beautiful!
14:00 - First power up
14:48 - Blinky works
15:31 - Do you want one?
16:20 - Naming contestShow More
Now Playing
The Essential Details of ESP32 Hardware Debugging
My ESP32 development needs have outgrown the Arduino IDE so I go on ...
My ESP32 development needs have outgrown the Arduino IDE so I go on the hunt for a better development environment and hardware debugging support. I discovered PlatformIO and the ...ESP-PROG board. This combination lets me easily flash new firmware onto the board with one cable, and then perform in-hardware debugging. In the video I go into extreme detail to show you how to set up your whole environment for success.
0:00 - Introduction
0:45 - Why do we need hardware debugging?
3:35 - The ESP-PROG hardware debugging board
5:12 - The PlatformIO development and debugging environment
8:27 - USB Setup
11:193 - ESP-PROG Setup
15:52 - PlatformIO Setup
23:57 - Flashing new firmware
26:05 - No Serial.println() output via the ESP-PROG board
26:48 - Good Serial.println() output via a second USB cable
27:43 - Hardware debugging!Show More
Now Playing
2170 Lithium Battery Pack Part 14 - Introduction to the ENNOID BMS
After searching for two years, I finally found a BMS I like for the ...
After searching for two years, I finally found a BMS I like for the 2170 cells in the new battery pack of my electric scooter! I introduce the BMS-SS ...device and its capabilities and talk about the steps in the design and build for future videos. Also, a quick update on my trip to America.Show More
PM 2.5 Pollution Sensor
A friend had an idea to build a low-cost PM 2.5 pollution sensor and upload the data to a central web server which would display the data against a map. I did 2 versions of the board but the sensor was difficult to work with an unreliable for readings. I see there’s a new Bosch sensor on the market and I’d like to update the design to use it.
PM2.5 Pollution Sensor V1.4 Update
I've put a lot of work into my PM2.5 pollution sensor since my last update, and I'm now up to Version 1.4.
I've migrated the schematic and circuit board ...layout to the new Fusion360 Electronics module, which used to be EAGLE. I 3D designed and printed an enclosure which holds the circuit board, sensor module and fan in place.
I reused one of the ESP32 modules from a Version 1.3 beta testing board and it worked!
Questions for the very smart people watching:
1) How can I tell Fusion360 that I want to use vias to punch down to the ground plane rather than run traces on the top of the board?
2) How can I import STEP models (or any other variation) and have them show up as opaque, looking as they would in real life rather than the translucent I'm finding?
Timeline:
0:00 - Introduction
0:34 - PM2.5 Pollution Sensor V1.4 Enclosure
3:00 - New Circuit Board
5:17 - Schematic in Fusion360 Electronics Module
8:03 - Circuit Board Layout
10:35 - Circuit Board 3D View
12:05 - Enclosure 3D Design
12:48 - Final Assembly Model
16:29 - Clothes Iron ESP32 Module Removal Attempt
18:02 - Hot Air ESP32 Module Removal Attempt
18:39 - Soldering with Stencil and Parts
19:21 - Power Up
20:03 - Add Fan
20:32 - Add PM2.5 Sensor
21:12 - Web Page
22:00 - Cleaning the Sensor
22:39 - Final Assembly and TestShow More
Now Playing
PM2.5 Pollution Sensor V1.4 Update
I've put a lot of work into my PM2.5 pollution sensor since my last ...
I've put a lot of work into my PM2.5 pollution sensor since my last update, and I'm now up to Version 1.4.
I've migrated the schematic and circuit board ...layout to the new Fusion360 Electronics module, which used to be EAGLE. I 3D designed and printed an enclosure which holds the circuit board, sensor module and fan in place.
I reused one of the ESP32 modules from a Version 1.3 beta testing board and it worked!
Questions for the very smart people watching:
1) How can I tell Fusion360 that I want to use vias to punch down to the ground plane rather than run traces on the top of the board?
2) How can I import STEP models (or any other variation) and have them show up as opaque, looking as they would in real life rather than the translucent I'm finding?
Timeline:
0:00 - Introduction
0:34 - PM2.5 Pollution Sensor V1.4 Enclosure
3:00 - New Circuit Board
5:17 - Schematic in Fusion360 Electronics Module
8:03 - Circuit Board Layout
10:35 - Circuit Board 3D View
12:05 - Enclosure 3D Design
12:48 - Final Assembly Model
16:29 - Clothes Iron ESP32 Module Removal Attempt
18:02 - Hot Air ESP32 Module Removal Attempt
18:39 - Soldering with Stencil and Parts
19:21 - Power Up
20:03 - Add Fan
20:32 - Add PM2.5 Sensor
21:12 - Web Page
22:00 - Cleaning the Sensor
22:39 - Final Assembly and TestShow More
Now Playing
PM2.5 Pollution Sensor Project - Software Part 1
If you're writing code for an ESP32 under Arduino, you'll find some ...
If you're writing code for an ESP32 under Arduino, you'll find some nuggets of wisdom in this video, including how to avoid two kinds of crashes - stacks and watchdog ...timers.
I walk you through 2600 lines of code of a real-world application for a PM 2.5 pollution sensor. I explain how to use tasks & stacks on FreeRTOS, Wifi as an Access Point or client, web server, tickers, file read/write in SPIFFS, preferences, digital & analog input and output, Over-The-Air firmware updates and JSON.
Let me know in the comments if you have any questions or want me to go into more detail on something.
I plan to make videos showing how the user interacts with the system on first boot and after Wifi has been set up, and updates when I revise the system to use a new UART version of the PM 2.5 sensor.Show More
Now Playing
PM2.5 Pollution Sensor Project - Hardware Part 1
I kick off yet another project, but use the ESP32 platform for the ...
I kick off yet another project, but use the ESP32 platform for the first time. After several iterations of the schematic and circuit board, I'm getting it close to ...working.Show More
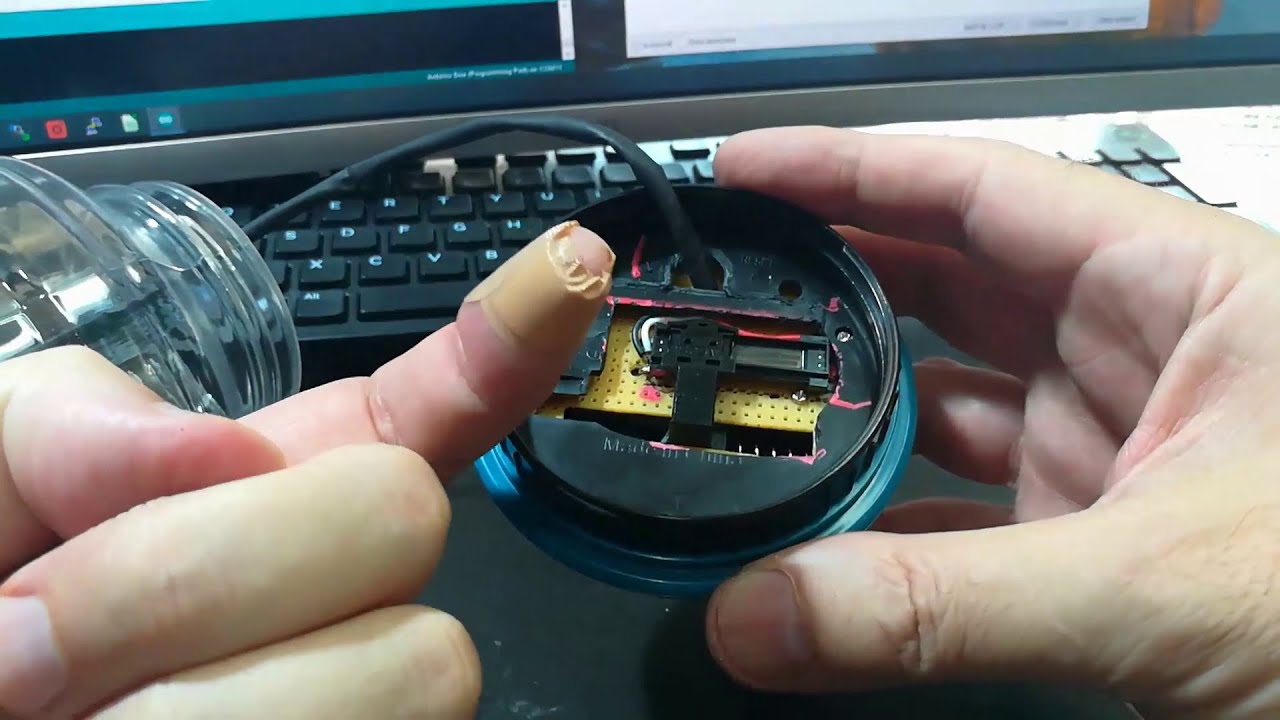
Thailand Coins Digital Money Jar
I saw a product on AliExpress to count the value of coins as you put them into a jar. There was no version available to count Thai coins, so I built this prototype.
Thai Coin Digital Money Jar Project - Part 1
My friend and I are considering a project for a money jar / piggy bank that detects and totals up the value of the Thai coins that are inserted. ...
This video explores the reverse engineering of a similar product for US and UK coins to decide how we would move forward with the project.Show More
Now Playing
Thai Coin Digital Money Jar Project - Part 1
My friend and I are considering a project for a money jar / piggy bank ...
My friend and I are considering a project for a money jar / piggy bank that detects and totals up the value of the Thai coins that are inserted. ...
This video explores the reverse engineering of a similar product for US and UK coins to decide how we would move forward with the project.Show More
Now Playing
Thai Coin Digital Money Jar Project - Part 2
I build up the simulator hardware and software to replicate the ...
I build up the simulator hardware and software to replicate the functionality of the digital money jar.
Now Playing
Thai Coin Digital Money Jar Project - Part 3
Building on the fixed-width trigger coin detection method in the ...
Building on the fixed-width trigger coin detection method in the previous video, I build a different and more flexible system for detecting any coin in the world using a sliding ...potentiometer.Show More
The DC Current and Voltage Sensor
This was an early project I intended to use in my Toyotron electric motorbike but couldn’t get it working well due to the terrible development environment for the Atmel chip I chose for the design. This board is the major reason I switched to the ESP32.
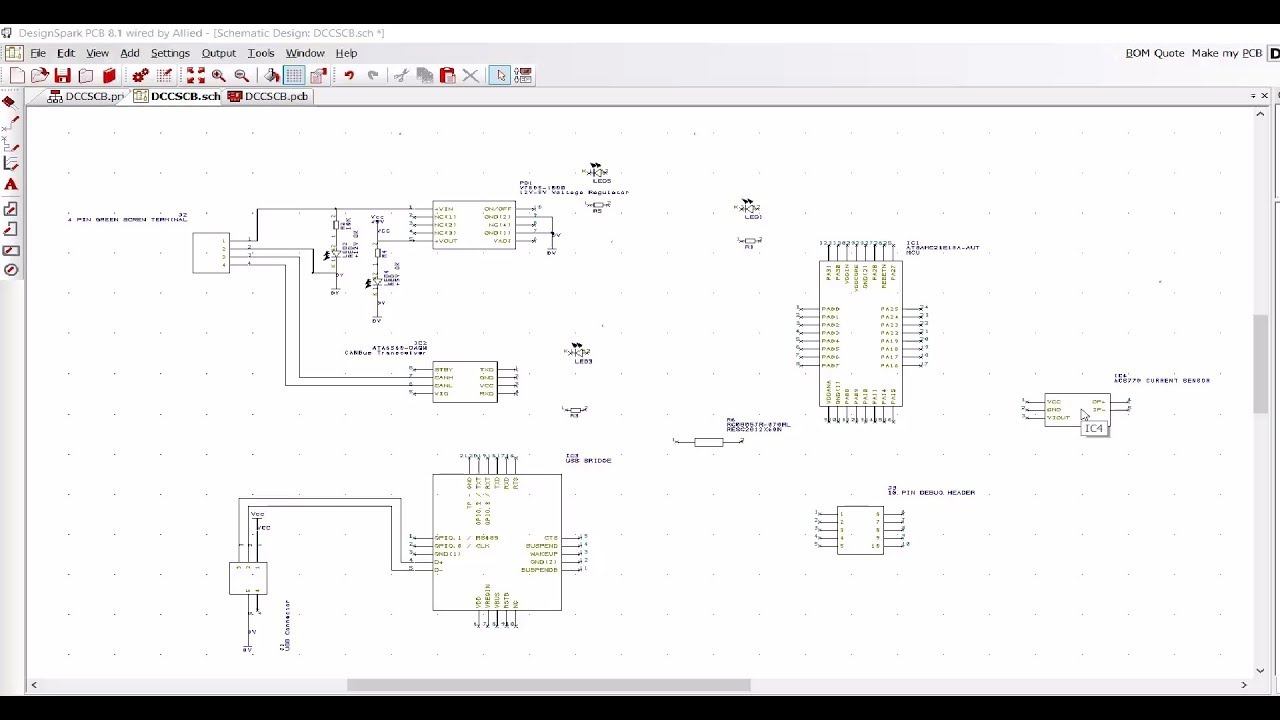
DC Current Sensor with CANBus Output Project Part 1
In this video I kick off the design of a standalone, inexpensive DC current sensor that outputs CANBus data. I drill down through the design to the point where ...I have selected the specific chips and ancillary components. Part 2 will be the schematic and circuit board design.Show More
Now Playing
DC Current Sensor with CANBus Output Project Part 1
In this video I kick off the design of a standalone, inexpensive DC ...
In this video I kick off the design of a standalone, inexpensive DC current sensor that outputs CANBus data. I drill down through the design to the point where ...I have selected the specific chips and ancillary components. Part 2 will be the schematic and circuit board design.Show More
Now Playing
DC Current Sensor with CANBus Output Project Part 2
In this video I discuss the early days of circuit boards and show ...
In this video I discuss the early days of circuit boards and show several circuit board design software packages.
I then start the schematic and circuit board design of the standalone, ...inexpensive DC current sensor that outputs CANBus data.Show More
Now Playing
DC Current Sensor with CANBus Output Project Part 3
In this episode I complete the schematic and circuit board layout, ...
In this episode I complete the schematic and circuit board layout, then upload the design to the circuit board manufacturing company.